
mud pump for textured walls quotation
The cost to texture walls and ceiling is $0.80 to $2.00 per square foot, which is $450 to $1,000 per bedroom and $600 to $1,400 for a living room. Retexturing walls cost $1.80 to $3.80 per square foot, including old texture removal. The cost to smooth textured walls is $1 to $3 per square foot.
The average cost to texture a ceiling is $1 to $2 per square foot. Texturing a drywall ceiling costs $130 to $440 on average for a bedroom or living room, depending on the texture type, application method, and ceiling height.
A knockdown texture ceiling costs $1.00 to $2.50 per square footor $500 to $1,250 for 500 square feet. Knockdown is the most common drywall texture style and is also called California knockdown or splatter drag.
The cost to texture walls is $0.80 to $1.80 per square foot or $280 to $800 for an average bedroom. Texturing one bedroom wall costs $70 to $200. Wall texture rates depend on the height, texture type, coating thickness, and application method.
Smoothing textured walls costs $1 to $3 per square foot on average. The cost to smooth textured walls depends on whether the old texture is removed or covered by a skim coat.
Drywall installation costs $1.50 to $3.50 per square foot, including materials and labor to hang, tape, finish, and texture the drywall. The average cost to tape and mud drywall is $0.35 to $1.10 per square foot, not including sanding or finishing.
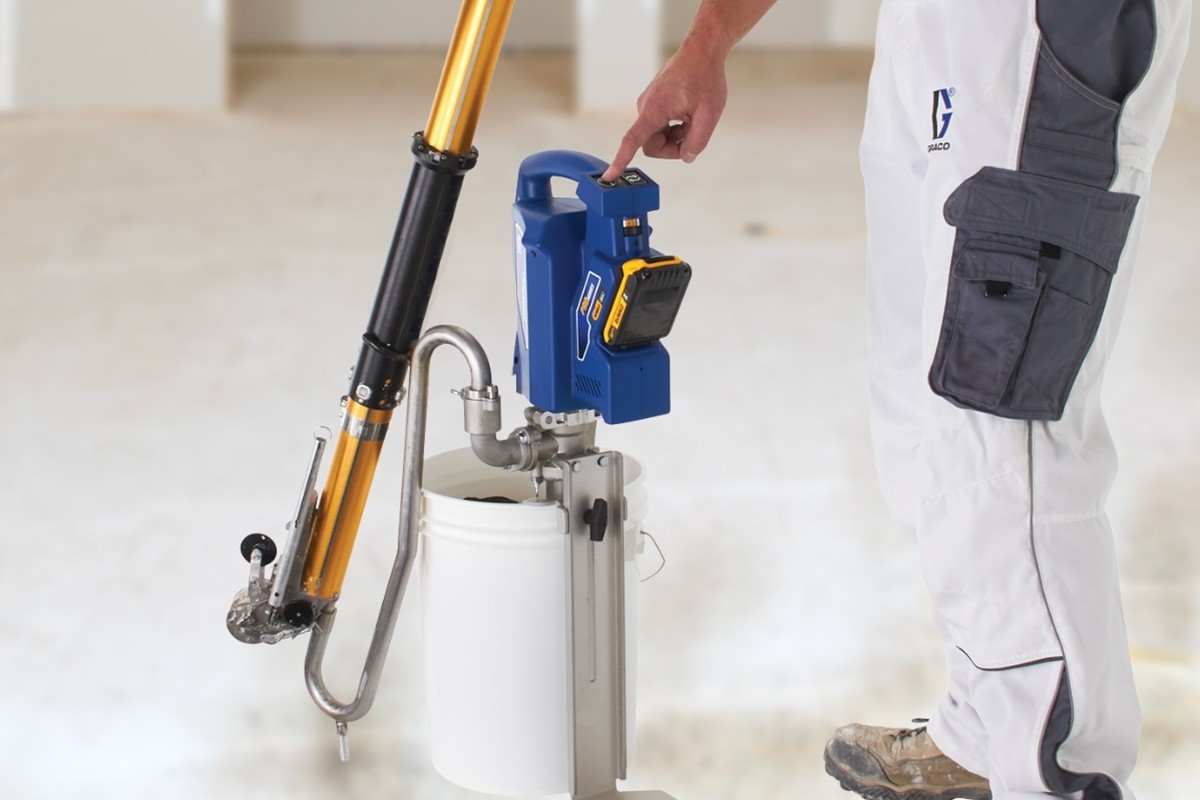
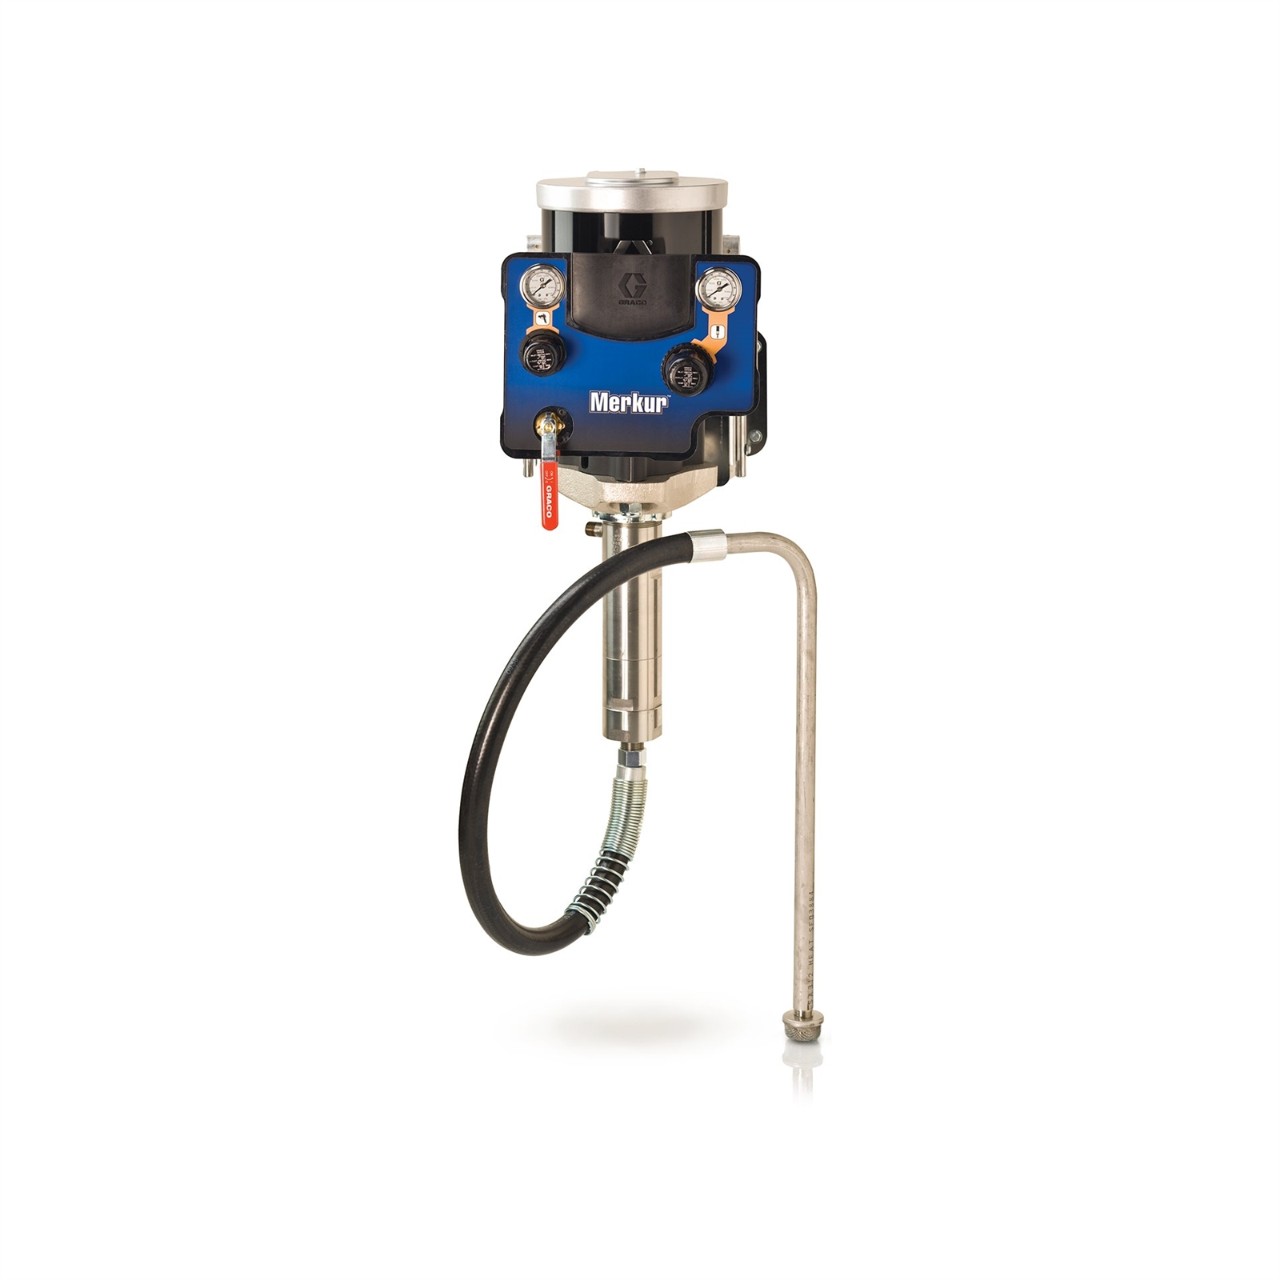
Sprayed textures are applied with a pump that uses compressed air to feed drywall mud through a nozzle. The pattern is determined by the nozzle and sprayer type.
Hand textures are more customizable and are applied with a trowel, knife, or brush. Some hand textures require a sprayer to apply a layer of drywall mud before other tools are used to create a pattern.
Textured drywall finishes are created by applying joint compound with a sprayer, trowel, or brush to create a raised pattern on the surface. Texture adds dimension, looks like traditional plaster, and hides the seams and flaws in drywall.
Drywall does not have to be textured. However, a textured surface hides flaws and doesn"t require repairs or repainting as often as a smooth surface. You can paint drywall with or without texture as long as the joints are mudded and the surface is primed first.
A knockdown texture hides flaws, seams, uneven areas, and minor stains on walls or ceilings. Light shining across a smooth surface accentuates the flaws, while a knockdown texture conceals them instead. A heavier layer of knockdown texture hides the most flaws.
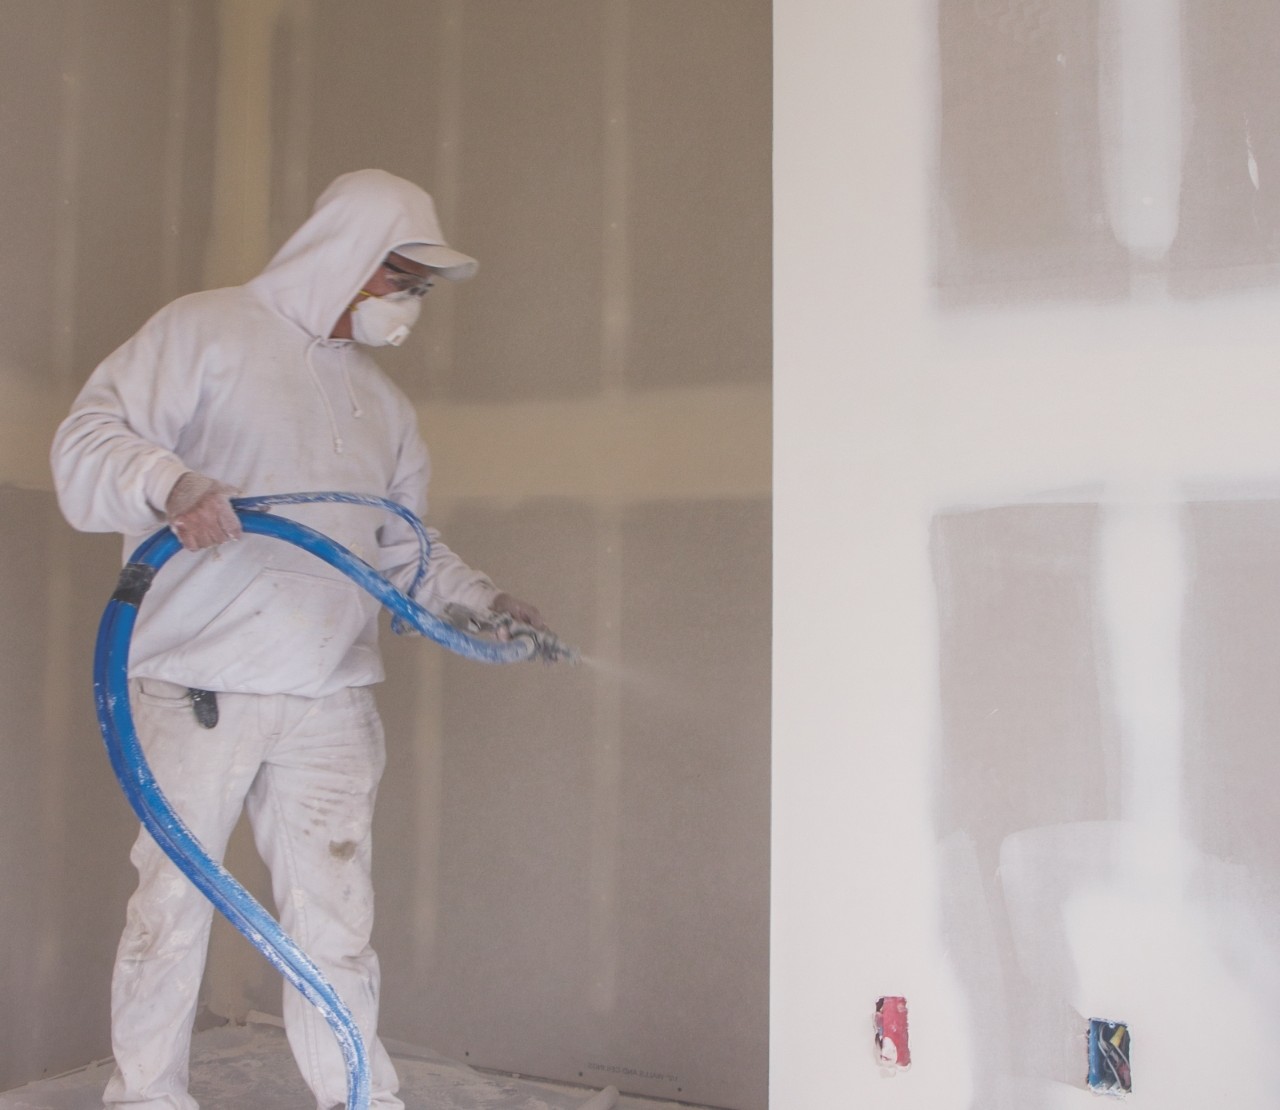
Texturing drywall with a sprayed coating takes less than one day for an average home. Hand-applied textures take 1 to 3 days, depending on the texture style and the number of drywall laborers.
DIY drywall texturing is feasible but time-consuming and messy. Achieving a good finish requires skill, experience, precise timing, and specialized tools. Hire a professional drywall contractor for the best results.
Sprayed textures are the easiest to DIY and provide the most forgiving results for inexperienced users. Renting a texture sprayer costs $75 to $95 per day.
One gallon of premixed joint compound—also called drywall mud—covers 50 to 100 square feet of wall or ceiling surface, depending on the texture"s thickness. One pound of powdered joint compound covers 30 to 40 square feet after thinning with water.
Using drywall texturing tools to refine the drywall is one of the final steps of the finishing process. Textures hide taped drywall seams and other imperfections that drywall installation leaves behind. Textured walls and ceilings are more durable than their smooth counterparts, and they’re faster and cheaper to install. At Timothy"s Toolbox, you"ll find the high-quality, budget-friendly tools you need to finish sheetrock with assorted textures. We have knockdown texture tools, as well as tools for crow’s foot, orange peel, rosebud, and stipple textures. Shop our collection today for guns, brushes, knives, and sprays you can use to leave drywall with a unique, flawless finish.

In this article, we will review the types of texture materials and provide guidelines for properly mixing these materials as well as review some initial tips on selecting texture equipment.
The most common drywall mud can be purchased in pre-mix or powder form. Regardless of the type of material you are working with, the bottom line is to mix the material correctly and thin until the desired consistency is reached. Additionally, it’s important to pay close attention to the material consistency throughout the job. These essential steps will go a long way to achieving the best texture finishes.
Pre-mixed joint compound starts out thick with a paste-like consistency. This type of mud will come in a bucket or box with everything in it that you need. However, most pre-mixed joint compound needs to be thinned to meet the pattern criteria. Some benefit of pre-mixed material is convenience, requiring less mixing and less water needed on the job site.
Powdered joint compound, commonly used for wall and ceiling texture, can be broken down further into standard and fast setting. Standard joint compound material is primarily composed of gypsum and used for drywall. On the other hand, fast-setting material contains unique chemical compounds that react and set quickly when exposed to water, hence its name. Typically, most contractors spraying texture do not prefer fast-setting material because of constant and thorough cleanup required and fast setup time.
Powdered material will come in a bag and need to be thinned according to the manufacturer’s directions. Generally speaking, thinner drywall mud creates more output and a finer finish while thicker drywall mud creates less output and a coarser finish. The helpful tips below provide additional information to properly mix and manage texture materials throughout the application.

The air supply in a texture sprayer also plays a critical role as there is a direct relationship between the amount of material and amount of air mixing together. As the pattern gets finer, the more air is needed to break the drywall mud into smaller pieces. Texture finishes such as Orange Peel and Fogging require the most air since the material is broken into the smallest form.
When using a hopper gun to apply a texture, a separate air compressor is needed and not all compressors are well suited for the job. It is critical to have a balance of low and consistent air pressure through the entire hopper of material.
Many portable electric air compressors use small storage tanks to build-up pressure. These compressors work well for nail guns and other tools that require short bursts of high-pressure as these applications allow plenty of time for the tank to refill. When spraying texture finishes with these compressors, it is common to stop spraying and wait for the pressure to build back up in the tank. Depending on the size of the project, this extra time can easily double or triple the time on the job. It"s also difficult to recognize the tipping point when the air pressure drops enough to effect the consistency of the texture.

This website is using a security service to protect itself from online attacks. The action you just performed triggered the security solution. There are several actions that could trigger this block including submitting a certain word or phrase, a SQL command or malformed data.

This website is using a security service to protect itself from online attacks. The action you just performed triggered the security solution. There are several actions that could trigger this block including submitting a certain word or phrase, a SQL command or malformed data.
This website is using a security service to protect itself from online attacks. The action you just performed triggered the security solution. There are several actions that could trigger this block including submitting a certain word or phrase, a SQL command or malformed data.
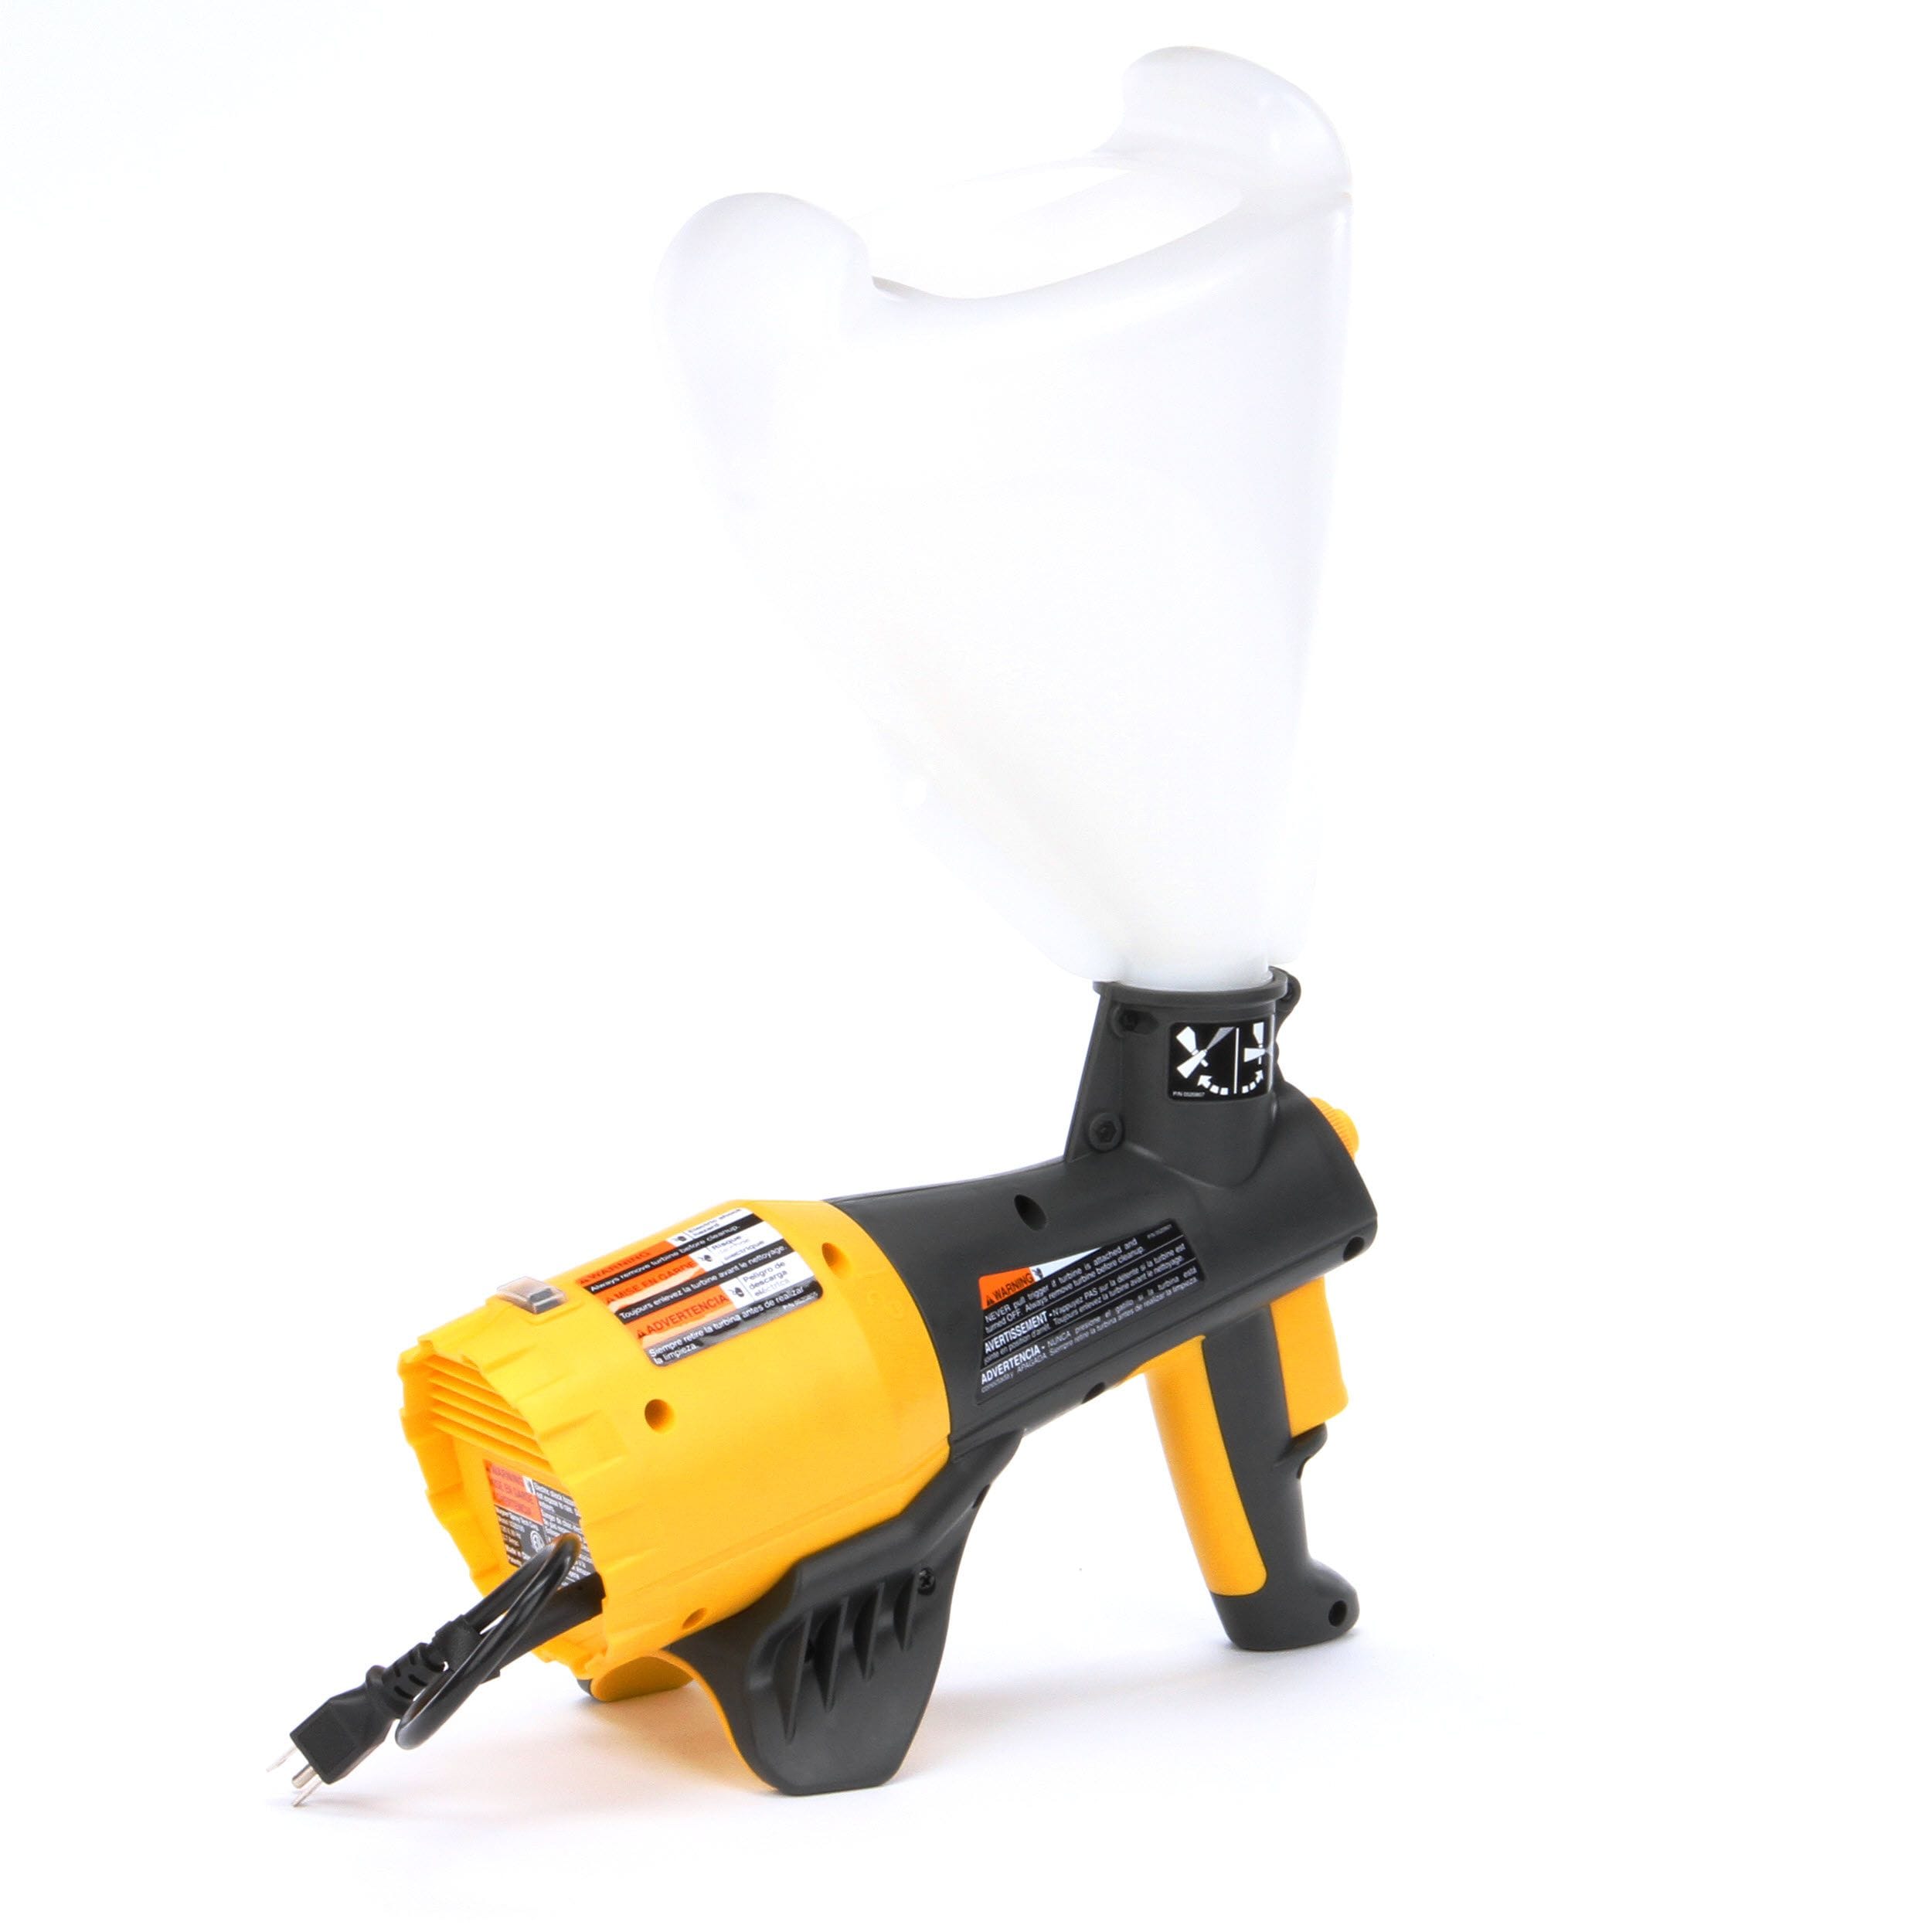
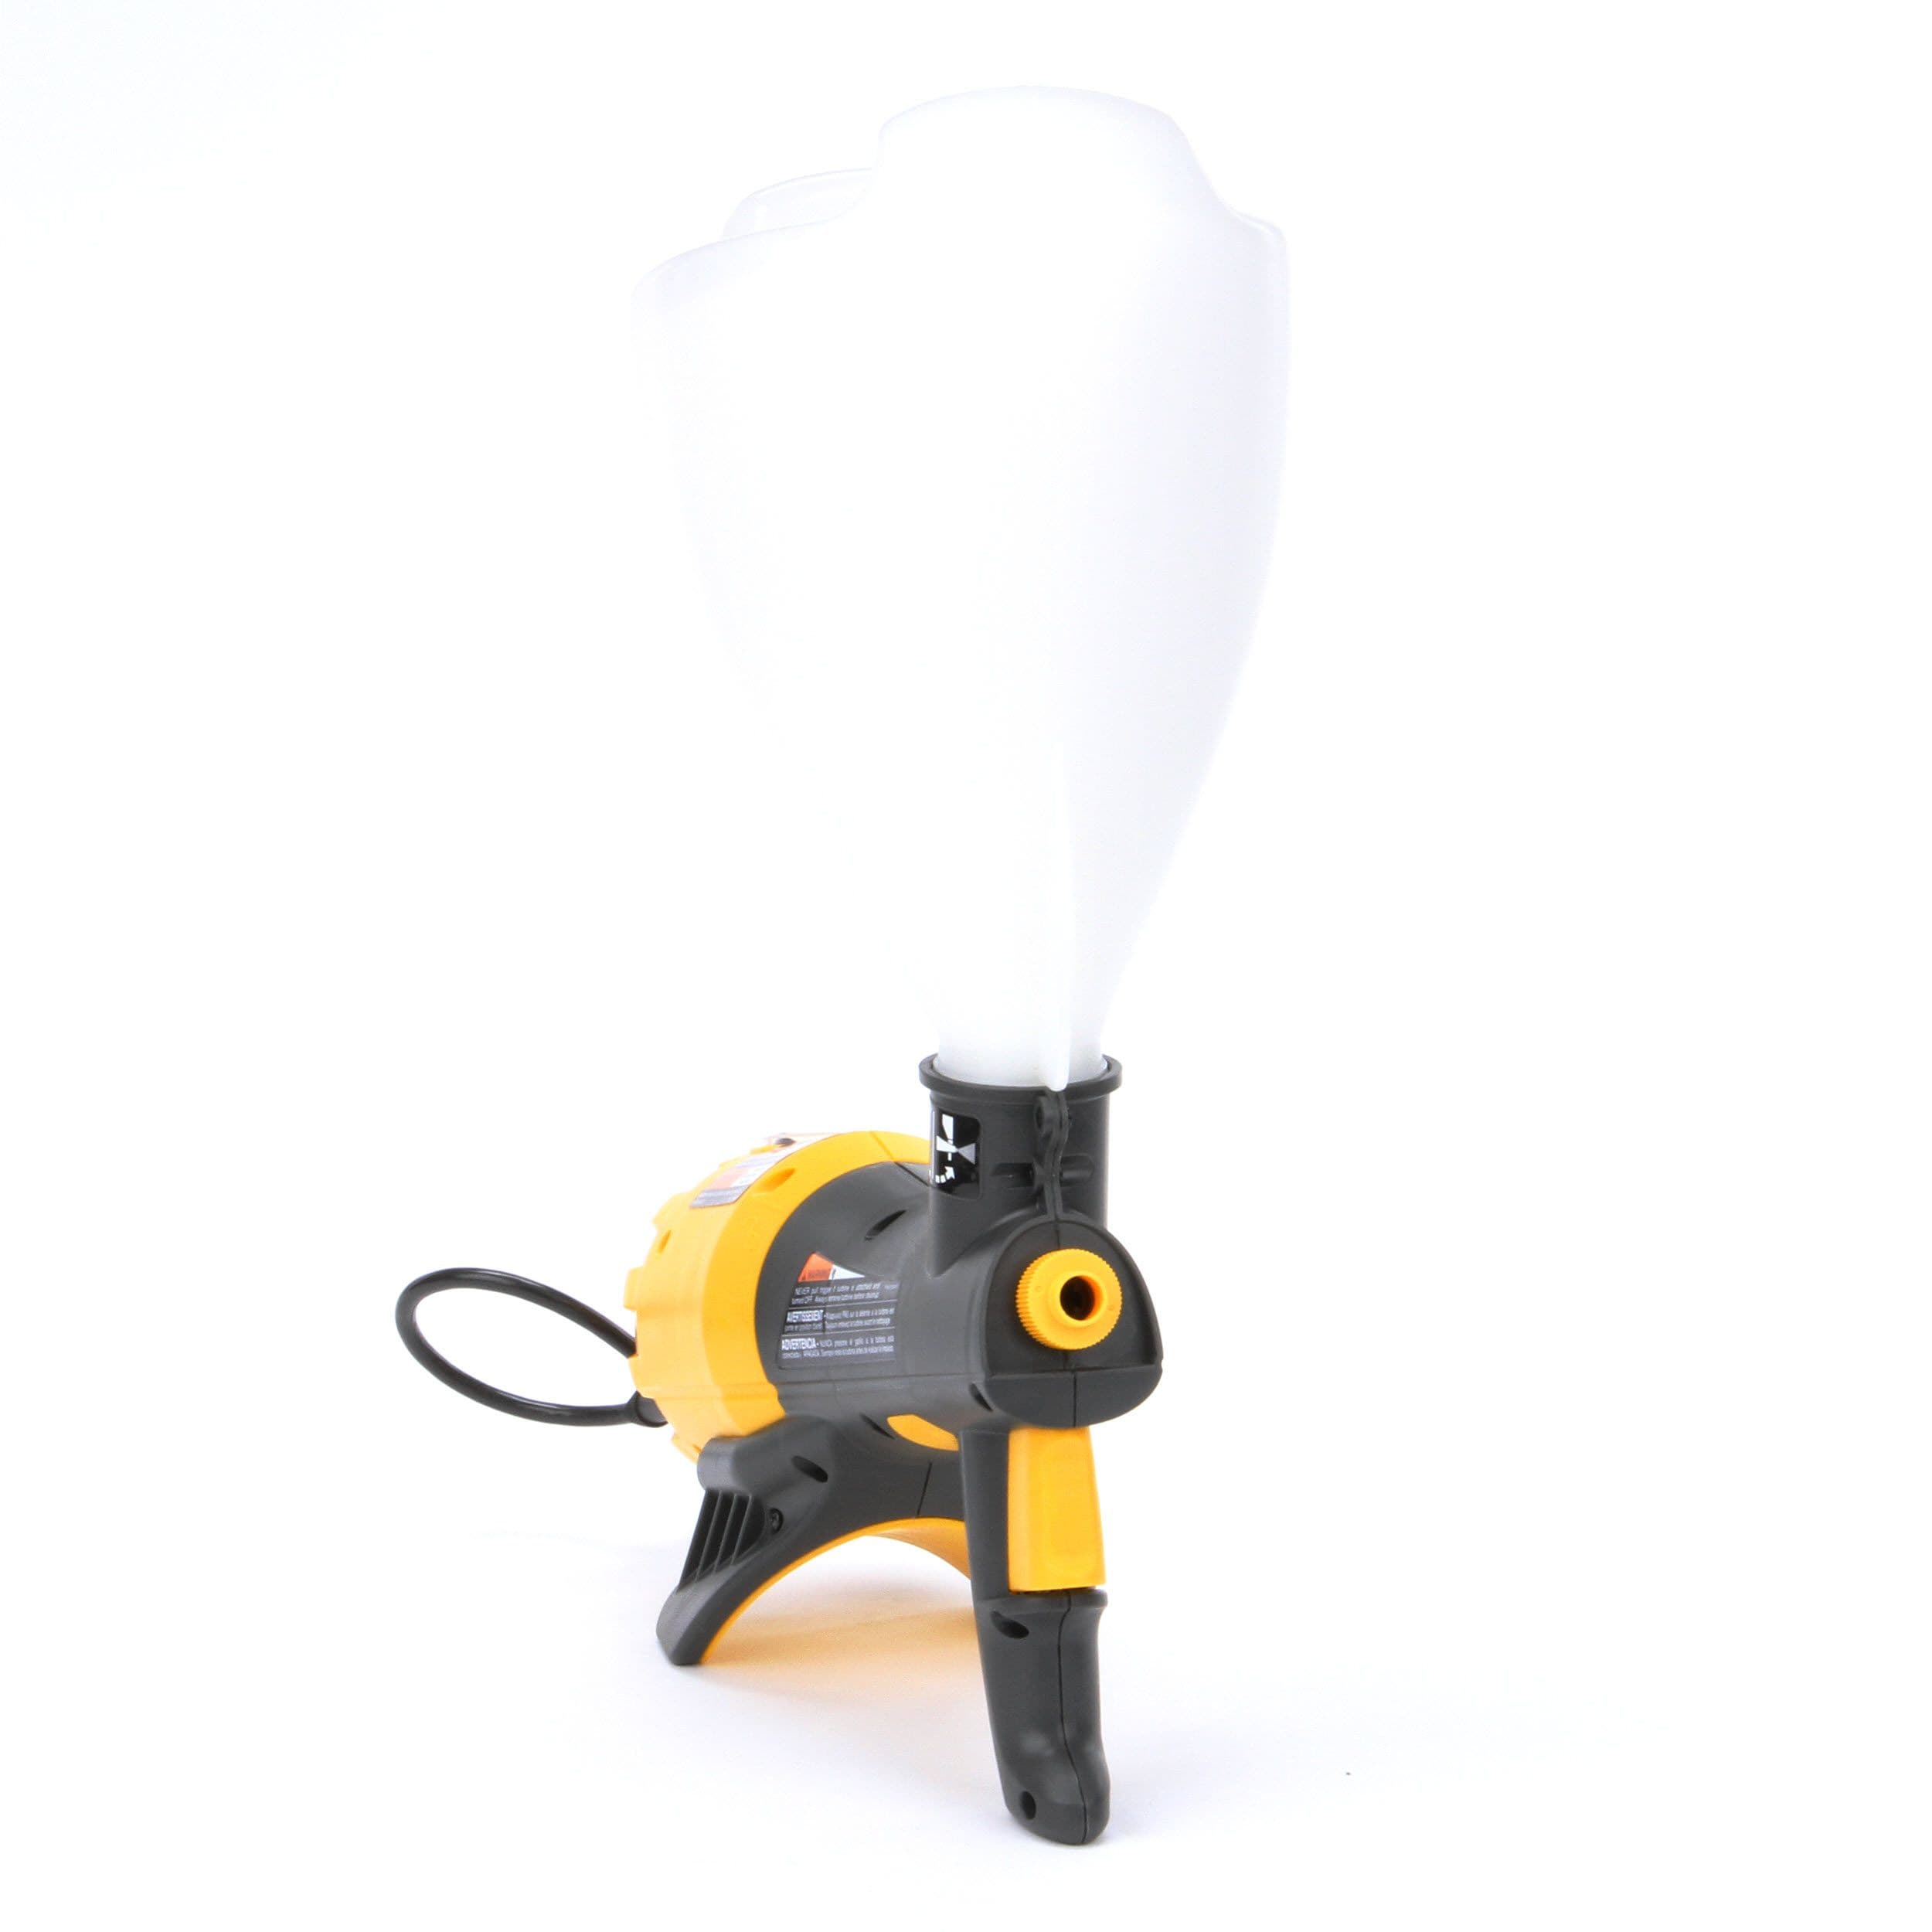
Hold pump/texture bottle firmly and cut off bottle tip at groove with a utility knife. Now puncture a small hole in the red bottle cap where indicated.
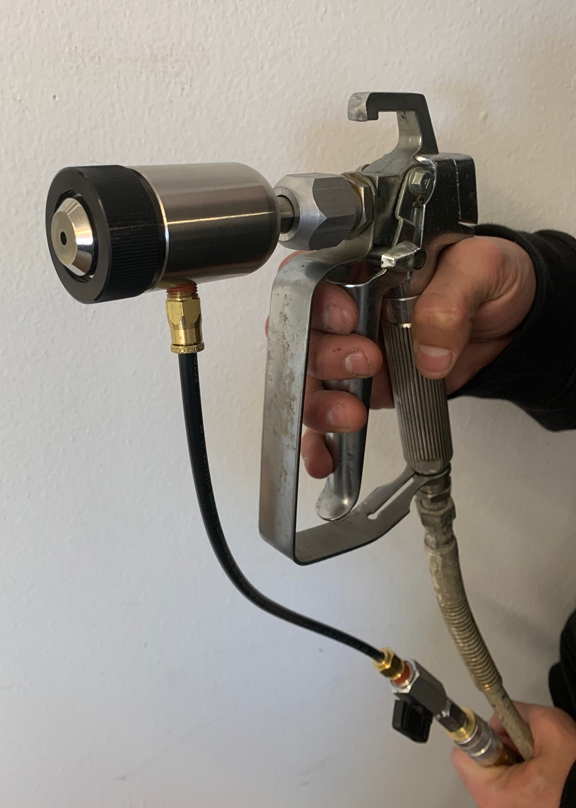
Wall Texture Repair: Select pattern by rotating applicator to desired position. Test spray pattern on cardboard or scrap drywall. Stand 1-2 feet from surface, pump to apply texture using short rapid strokes. Rotate applicator to OFF position when not spraying to prevent dripping.
After applying Orange Peel Heavy, allow material to begin to set up (5-10 min.), then use the plastic mud knife, flatten or lightly “knockdown” the texture to match the surrounding area.
Popcorn Ceiling Texture Repair: Point nozzle upright to ceiling and rotate pump to HEAVY setting. Hold pump at a 40° angle, and approx. 6-12" from ceiling. Pump using short rapid strokes. Rotate applicator to OFF position when not spraying to prevent dripping.
FIRST AID: If inhaled, move to fresh air and get medical attention. In case of eye contact, immediately flush eyes with water for 15 minutes. Seek medical attention if irritation persists. If on skin, wash thoroughly with soap and water.
WARNING: If you scrap, sand or remove old paint, you may release lead dust. LEAD IS TOXIC. Contact the National Lead Information Hotline or 1-800-424-LEAD or log onto www.epa.gov/lead.
One of the basic tenets of interior design—if you ever plan to sell your home—is to avoid overly personal choices of the more permanent variety. Yet, as anyone who has ever house- or apartment-hunted before can attest, many people think that textured walls are a universally appealing design choice. Fact:
If you find yourself with a textured wall that you’d like to be, well, not textured, don’t despair: There are ways of removing that texture. It just takes some time and elbow grease.
If your textured wall has been painted, you’re going to have to employ a more complicated fix (see below). That’s because paint acts as a sealant, protecting the texture from its enemy (that would be water, and you). These approaches apply to textured ceilings, as well. If the wall in question isn’t painted, you can use the “Soak and Scrape” procedure to get that texture off the wall. Like so:Protect your floors and furniture with drop cloths, because this could get messy.
If your textured wall has been painted, you’re facing a more difficult task. In fact, for painted textured walls, you might consider the nuclear option of just tearing them out and having fresh drywall installed. If that’s not an option, you’re going to have to apply a skim coat—a thin layer of drywall mud over the existing wall. This is not nearly as easy as it sounds—yes, anyone can smear compound all over the wall, but getting it to look good and have an even, smooth finish requires a lot of skill. You will be much better off hiring professionals to do this. But if you’re an enthusiastic DIYer and want to do it yourself, here’s how:Remove the baseboards and trim.
Mix your compound. You can use powder drywall compound or pre-mixed—the latter is much easier, the former is more affordable. Either way, mix your compound with water—you’re looking for a
Pour some of your thinned compound into a rolling tray, and start “painting” the walls with it. This will make an enormous mess and be more of a workout than you might imagine. Roll your way through the pain and suffering. Work in small sections unless you’ve got a team working to smooth the walls behind you; otherwise, the compound will dry out as a lumpy mess before you get to the next step.
Smooth the coat you’ve just applied from the bottom up. You can use a standard drywall knife for this if you have some experience, but a “magic trowel” (aka an
Let your skim coat dry for 1-2 days. If your wall still shows some texture, apply a second skim coat, smooth, and let dry again. Don’t sand between skim coats.
Yep, it’s a lot of work no matter which procedure you have to use. Is it worth it? That depends. It’s a lot cheaper and less disruptive than having new drywall installed, but your chances of ending up with wonky walls that don’t look great are...well, pretty high, actually. You have to put a lot of time and effort into this project to get it to look right—be patient and don’t rush.
There are a number of techniques available, and this article covers 3 methods: soak and scrape, skim coat, and bridge liner (or railroading). Of the 3 methods, soak and scrape is probably the best DIY method for removing the texture.The other 2 are methods are better suited to the professional.
Hanging wallpaper is usually a project for a professional, but you may be able to save money by eliminating some of the prepwork yourself. Finishing drywall takes a great deal of experience, so skimming over textured walls may need to be left to the pros, but the soak and scrape method can be a DIY project that will help you keep some cash in your pocket while you are preparing to have your new wallpaper installed.
If the texture on the walls has never been painted, it can usually be removed by a process called soak and scrape. The method is pretty straightforward and it works just like it sounds. Just be careful not to over soak the walls.
The easiest way to soak the wall is with a pump sprayer. They are inexpensive and can be found at any home center or garden store. Fill the sprayer with water and lightly soak the entire wall – you may need to do this multiple times depending upon the thickness of the texture. Allow 10-15 minutes after each soaking before testing. You will know that it is time to scrape when you can remove the texture with your thumbnail right down to the drywall.
Once all the texture has been removed, allow at least 24 hours of drying time before sanding the wall smooth in preparation for applying ROMAN PRO-999 Rx-35 Sealer/Primer.
If the texture on the walls has been painted it won’t be possible to use the soak and scrape method as the paint will repel the water and keep the texture from softening. That means you will need to apply a skim coat over the entire textured surface that will receive the wallpaper. Even though helpful online videos make it look easy, it is not.
Let the skim coat dry for 24-48 hours and apply a second coat if needed. Once you are satisfied with the results, smooth the finished product with sandpaper sponges and rub very lightly. You are only sanding joint compound, and it comes off quickly. Over-sanding will require that you do another skim coat and repeat the process.
This method eliminates the need to remove the textured material from the drywall before hanging your wallpaper. Bridging material – sometimes referred to as liner paper or wall liner is specifically designed to hide wall irregularities from paneling, and textured or damaged drywall. Depending upon the roughness of the wall material being covered, it may be advisable to skim coat any areas with heavy damage, or those with repetitive indented lines such as paneling.
Next, you need to prime the walls. There are different primers depending upon the porosity of the surface being covered. Some surfaces are non-porous and others are more porous. Each will require a different primer for superior results.
Slick or nonporous surfaces such as sealed wood paneling, ceramic tile, Formica or glass, should be primed with ROMAN PRO-935 to promote excellent adhesion.
Regardless of which method you choose for covering over textured drywall, once you have prepared the wall you are ready to hang the wallpaper. ROMAN Products is the nation’s #1 source for the highest quality removers, primers and adhesives. ROMAN wallpaper remover is available in different formulations and sizes and ROMAN PRO-466 is a favorite among contractors.
ROMAN PRO-999 Rx-35 has long been a mainstay with professionals for priming walls and ROMAN PRO-880 is the #1 choice for wallpaper adhesive. Contact us today at ROMAN Products for helpful videos and advice for the DIYer and the professional contractor, or call us directly at 708-891-0770.

This website is using a security service to protect itself from online attacks. The action you just performed triggered the security solution. There are several actions that could trigger this block including submitting a certain word or phrase, a SQL command or malformed data.
Builders have been widely applying knockdown texture to drywall since the early 1990s. It’s known for providing a casual elegance to interior walls and lends itself to a wide variety of décor types.
There are basically three different knockdown texture techniques: splatter, stomp, and mud trowel (also known as skip trowel). We’ll discuss the tools and materials you’ll need, the steps you should take to prepare yourself and the walls, and how to execute each type of knockdown finish.
Like any fine recipe, you need to make sure you have all the right ingredients and tools before you begin. Here’s a list of tools and materials you’ll need to gather before starting the job.
Drywall hopper gun kit.A drywall hopper gun kit is key to facilitating the knockdown textured finishes for drywall. The gun uses an air compressor to push mud through the nozzle of the gun and spray it on the wall or ceiling.
Air compressor.An air compressor forces the drywall compound from the hopper into a tube, eliminating hand pumping. When the trigger on the tool is pressed, the air pressure sends the compound through the head of the tool evenly. We recommend using one with a minimum capacity of 30 to 40 psi.
1.5-gallon joint compound powder (not rapid dry).Joint compound in the dry form is a powder that usually comes in large paper bags. This product is usually not labeled as being dry. It will be called joint compound with the qualifiers ready-mixed or pre-mixed omitted.
Additional items you’ll need: shop cloths or rags, two or three 2- or 5-gallon buckets, water, a scrap of drywall (for testing), and a tarp or drop cloth.
Before you start mixing powder, make sure that you prep the area or room where you are applying the drywall. You should wipe away dust and dirt using a damp rag. Make sure you allow any moisture to dry before moving forward.
Add Mud or Compound.Pour the proper amount of water in a second bucket. Standard, all-purpose joint compound will work best for this project. You can use either dry compound or ready-mix compound. Avoid compounds that contain sand or grit (unless you want a unique look). Plain mud works best for this type of texture. You should also avoid lightweight compounds. These formulas scratch more easily and may not accept the texturing as well as all-purpose compounds do.
Mix to the Consistency You Want.For knockdown texture, never use mix that contains aggregate. Continue to add water and powder until you have a bit more mix than you think you’ll need. Better to waste some mud than to run out before you’re done. Set the mixture aside for about 15 minutes to allow for complete water absorption. You don’t want the mix thickening in the hopper. You must be able to spray the mixture with the hopper gun, so it should be about the consistency of pancake batter or thick paint.
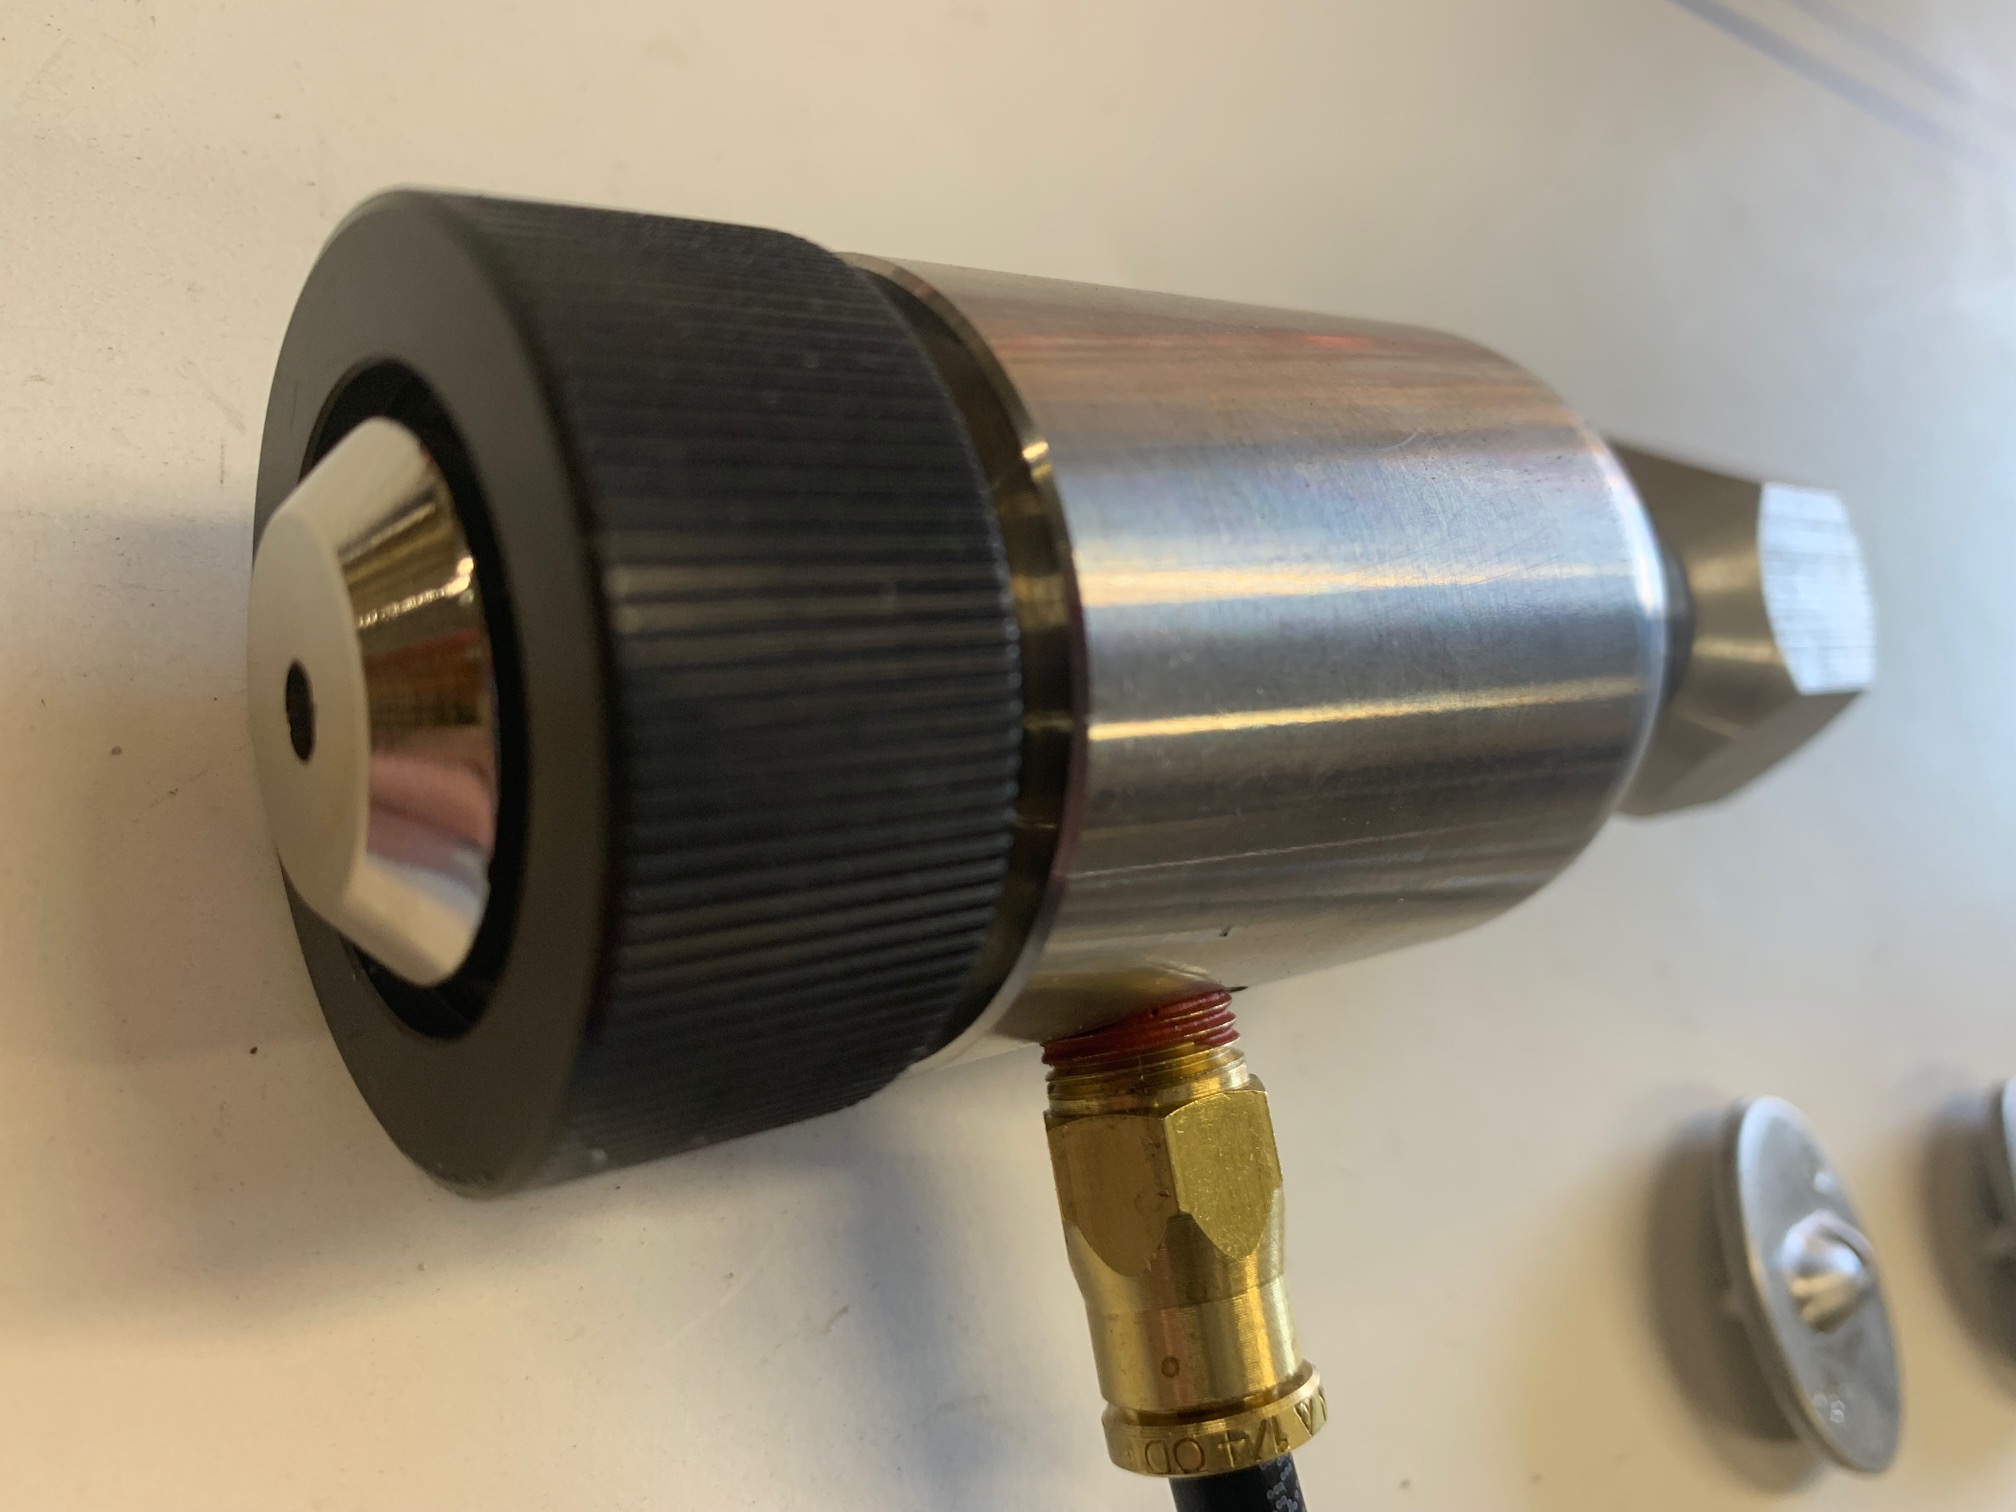
You can choose between 3 different sized tips for the hopper: small, medium and large. You can spray the mixture lightly to create a fine texture or heavily to create a more rugged look. Usually a medium texture works great with an air control valve so that you can turn your pressure up and down. When applying knockdown, we recommend using a setting of around 40 psi, because you don’t want it to spray too fast.
PRO TIP #2:It takes practice and experience to know exactly how long to wait before knocking down the texture. If you do it too soon, the texture will be runny and simply smear. If you wait too long, small dried out pieces of mud will drag across the surface creating unsightly lines.
Depending on the temperature and humidity levels in your house, it can take anywhere from five to ten minutes for the compound to set to the desired rigidity. This can cause problems because the longer it takes the material to dry, the more vulnerable it is to failure, mold growth, cracking, and more.
The stomp method creates a much rougher surface than the splatter or mud trowel techniques, but with higher ridges and deeper valleys, stomp textures always turn out interesting and unique.
Using a stiff-bristled, crows-foot stomp brush, dab or stomp the brush into the mud. The bristles of a stomp brush are usually arranged in an oval or square pattern and allow you to create an irregular and distinctive texture.
Because the stomp method requires a paint roller to apply the compound to the drywall surface and the additional step of stomping the mixture with a stomping brush before knocking it down, don’t be surprised if this takes longer than you thought. It can take up to twice as long to achieve this look than the splatter method, but the results are worth the extra time.
The curved trowel causes the mud to literally skip across the wall, leaving a sparse texture of round, quarter-sized globules on 50 percent of the surface.
Well, there you have it! Our best tips for how to apply knockdown drywall. Good luck with your project and be sure to leave a comment to let us know how it went and what tips you found most helpful.


 8613371530291