
overshot weaving tutorial factory

This class is not for absolute beginner floor loom weavers. If you are a beginner, please start with my Introduction to Floor Loom Weaving class for all the basics.
A 4 shaft floor loom with 6 treadles. My floor loom has a 35" weaving width, but if your loom is smaller I have provided an alternative class project.
Kelly is a self taught weaver with a big passion for sharing the timeless art of weaving with others. Kelly is known for her calm and slow teaching style and she bases her classes on how she would have liked to have been taught. She designs all of her own projects and caters for levels from beginner to intermediate. Most available classes are for the rigid heddle loom, floor, table and inkle loom weaving.

Weave structures often have specific threading and treadling patterns that are unique to that particular weave structure and not shared with others. This book takes you out of the traditional method of weaving overshot patterns by using different treadling techniques. This will include weaving overshot patterns such as Summer/Winter, Italian manner, starburst, crackle, and petit point just to name a few. The basic image is maintained in each example but the design takes on a whole new look!
Each chapter walks you through the setup for each method and includes projects with complete drafts and instructions so it’s easy to start weaving and watch the magic happen! Try the patterns for scarves, table runners, shawls, pillows, and even some upholstered pieces. Once you"ve tried a few projects, you"ll be able to apply what you"ve learned to any piece you desire!
Author of the popular Overshot Simply and Shadow Weave Simply now shares her explorations of overshot weaving structures. Her teaching style is to break down the weave structure into its basic parts so that it is easy to understand, and then teach you how the parts work together to create the weave structure so that you can use any pattern or create your own.

Look around you — any linear material you see can be weft. You can create experimental weavings with objects and materials you find in your home like plastic bags, shoe laces, straws, chop sticks and extra-long CVS receipts. You can even weave with dried flowers or matter found in nature. Weft materials are typically pliable and have a natural bend like yarn, but they can also be rigid and of various thicknesses.
Any yarn in our shop can be used as weft (even roving fiber), but we’ve highlighted a few below into two categories; yarns for weaving constructed textiles and yarns for play. All of these weft materials can be used on any loom type. We’ve also created this guide to choosing a warp yarn.
We refer to constructed textiles as weavings that resemble cloth — home goods (napkins, table runners, blankets, curtains), wearables (scarves, tunics, yardage for sewing), rugs, tapestries and production textiles. They are structurally sound and can be worn, washed, touched and moved without unraveling or losing their shape.
When weaving a constructed textile, it is helpful if the warp and weft yarns compliment each other, especially if the cloth is to be washed once off the loom. All fibers shrink to varying degrees when wet washed, and mixing fibers can cause the warp and weft to shrink at different rates — sometimes creating puckering, draw-in or felting. These effects can be lovely even if unintentional, but the best way to predict the end result of a woven fabric is to swatch & wash first. Weave a small sample or multiple samples at once, to review and analyze the wet finishing effects on mixing yarns. Yarn types we often mix in our studio are cotton and wool, cotton and linen, silk and wool, and linen and hemp.
The ppi (picks per inch) refers to how many picks of weft yarn land in 1” of your cloth. This determines the density of your cloth and will also allow you to calculate how many yards of weft yarn you will need to weave your desired fabric. The ppi of your cloth will change based on the yarn thickness, weave structure and how hard you beat the yarn into place. You can see answers to more weaving FAQ’s here.

This project was really popular when I posted it on Instagram, so I thought I would share it here also. It is a simple overshot pattern - with a twist. Also a great way to show off some special yarn. The yarn I used for my pattern was a skein of hand spun camel/silk blend. I wove the fabric on my Jack loom but you could also use your four or eight shaft loom.
Overshot is a weave structure where the weft threads jump over several warp threads at once, a supplementary weft creating patterns over a plain weave base. Overshot gained popularity in the turn of the 19th century (although its origins are a few hundred years earlier than that!). Coverlets (bed covers) were woven in Overshot with a cotton (or linen) plain weave base and a wool supplementary weft for the pattern. The plain weave base gave structure and durability and the woollen pattern thread gave warmth and colour/design. Designs were basic geometric designs that were handed down in families and as it was woven on a four shaft loom the Overshot patterns were accessible to many. In theory if you removed all the pattern threads form your Overshot you would have a structurally sound piece of plain weave fabric.
I was first drawn to Overshot many years ago when I saw what looked to me like "fragments" of Overshot in Sharon Aldermans "Mastering Weave Structures".
I wanted to use my handspun - but I only had a 100gms skein, I wanted to maximise the amount of fabric I could get using the 100gms. I thought about all the drafts I could use that would show off the weft and settled on overshot because this showcases the pattern yarn very nicely. I decided to weave it “fragmented” so I could make my handspun yarn go further. I chose a honeysuckle draft.
When doing the treadle tie-up I used 3 and 8 for my plain weave and started weaving from the left, treadle 3 - so you always know which treadle you are up to - shuttle on the left - treadle 3, shuttle on the right treadle 8. I then tied up the pattern on treadles 4,5,6 and 7. You can work in that order by repeating the sequence or you can mix it up and go from 4 to 7 and back to 4 again etc. You will easily see what the pattern is doing.

They"ve long been overshadowed by quilts, but overshot coverlets deserve their own place in the sun. The nubby-textured textiles, loomed from wool and cotton into arresting geometric patterns, first migrated to America from Europe in the 1770s. Later, industrial mills replicated the handcrafted heirlooms, and today these versions are plentiful at antiques fairs and on Etsy.
Of course, there"s nothing wrong with using these blankets as intended—as actual bed coverlets. Should you score a piece of overshot fabric that"s large enough to decorate your bed (and in mint enough condition to display), replace your winter quilt with this lighter iteration when the weather warms. Or, attempt our Envelope-Backed Pillow Cover, which calls for this fabric. However you decide to use these visually dynamic cloths, with our easy ideas, you will be able to weave some style and history into your home in no time.

Weaving rag rugs is an immensely satisfying process that enables you to use cast-off remnants of fabric - and a favorite old shirt or two - to make something beautiful and functional for your home. In this book, you"ll explore the fascinating history of rag weaving, learn how to weave a basic rag rug, master some of the most popular traditional designs, and experiment with contemporary techniques for weaving and embellishing rugs. Filled with scores of colour photographs of rugs by more than 40 artists from around the world, this book is a delight for weavers and non-weavers alike.
Weaving with rags developed out of genuine necessity centuries ago, when cloth was so highly treasured that it was often unwoven in order to reuse the thread. Although fabric is now commonly available at very low cost, weaving rag rugs remains an especially satisfying process. Transforming fabric remnants and old articles of clothing into beautiful, functional rugs yields a wonderful feeling of accomplishment, and it instills a sense of connection with history and tradition.
The basics of rag rug weaving have remained the same over the years, but the materials, designs, weave patterns, and color combinations have changed significantly. Today"s weavers have access to an abundant array of warp and weft materials, with a wide variety of fiber content, color, and pattern. There are few-if any-limitations on what you might incorporate into your design: plastic shopping bags, bread wrappers, nylon stockings, and industrial castoffs have all been included.
Once you feel comfortable with the basic techniques, you"ll want to sample the rag rug projects. There are a dozen in total, ranging in style from a subtle gradation of stripes to a vibrant tapestry inlay. You"ll find seaside motifs and square blocks, pale pastels and brilliant jewel tones. There is even a double weaving project chenille "caterpillars" are woven first, and these become the weft in a wonderfully textured chair pad. Each project is described in complete detail and accompanied by a weaving draft.
Throughout the book are full-color photographs of works by more than 40 artists from a dozen countries around the world. These images, together with how-to photography and detailed illustrations, will instruct you and inspire you to sample new directions in your weaving. A fascinating history of rag weaving complements this glorious collection of contemporary rugs.

Ashford make a variety of looms including the rigid heddle, knitter’s loom, inkle looms, table looms and floor looms. They also make a big range of weaving tools, yarnsand accessories, as well as all their other supplies for fibre artists.
One of the aims of the knitters loom was to change the mindset that you can only weave with weaving specific yarns. It paved the way for knitters, who already had a healthy stash of knitting yarn, to ease seamlessly into weaving and continue to utilise the yarn they already knew and loved.
The release of the knitter’s loom brought a whole new wave of crafters and fibre artists into the weaving world. It had features that were very attractive to the brand new weaver who wanted to get up and weaving really fast.
It folded with weaving in place, it was lighter and more compact than previous rigid heddle looms, it had the factory lacquer finish and it was assembled.
SL are smaller, lighter and more compact – the most prominent difference is the depth of the loom – which will only effect the weaving when using non elastic yarns like cotton.
I will also add here that I have several classes available on using more than one heddle. The most popular classes are Three Heddle Adventures and Weaving with Two Heddles
See the attached snippet from the Learn to Weave on the Knitters loom booklet (that comes with the loom) – the design of the loom, so it could fold etc, requires the back half of the loom to be angled up when weaving. This is probably the number one issue people have when starting out “help I have no shed” – to which the simple answer is lift the back up into the correct position.
The question when buying a rigid heddle loom should not be “what can I do on a rigid heddle loom?” it should be what can’t you do! And although I do have Jack and Katie (and a couple of table looms) – my Rigid heddle looms (of course there are several) hold a special place in my heart – my love of weaving came not only from being taught to weave on a rigid heddle loom but more from all the possibilities there was from a simple piece of equipment – I know it sounds corny but there really are unlimited possibilities!
You may remember that I recently returned from a visit to The Philippines. It may not surprise you that I am always on the lookout for interesting textiles, and especially handwoven fabrics. I don’t mean to do that; it just happens… Well, when I met sweet Beth at the Sunday market, I felt like I hit the jackpot! Beth and I had a common language – Handweaving! (She speaks fine English, too, of course; but you know what I mean.)

Overshot: The earliest coverlets were woven using an overshot weave. There is a ground cloth of plain weave linen or cotton with a supplementary pattern weft, usually of dyed wool, added to create a geometric pattern based on simple combinations of blocks. The weaver creates the pattern by raising and lowering the pattern weft with treadles to create vibrant, reversible geometric patterns. Overshot coverlets could be woven domestically by men or women on simple four-shaft looms, and the craft persists to this day.
Summer-and-Winter: This structure is a type of overshot with strict rules about supplementary pattern weft float distances. The weft yarns float over no more than two warp yarns. This creates a denser fabric with a tighter weave. Summer-and-Winter is so named because one side of the coverlet features more wool than the other, thus giving the coverlet a summer side and a winter side. This structure may be an American invention. Its origins are somewhat mysterious, but it seems to have evolved out of a British weaving tradition.
Double Cloth: Usually associated with professional weavers, double cloth is formed from two plain weave fabrics that swap places with one another, interlocking the textile and creating the pattern. Coverlet weavers initially used German, geometric, block-weaving patterns to create decorative coverlets and ingrain carpeting. These coverlets contain twice the yarn and are twice as heavy as other coverlets.
Multi-harness/Star and Diamond: This group of coverlets is characterized not by the structure but by the intricacy of patterning. Usually executed in overshot, Beiderwand, or geometric double cloth, these coverlets were made almost all made in Eastern Pennsylvania by professional weavers on looms with between twelve and twenty-six shafts.
America’s earliest coverlets were woven in New England, usually in overshot patterns and by women working collectively to produce textiles for their own homes and for sale locally. Laurel Thatcher Ulrich’s book, Age of Homespun examines this pre-Revolutionary economy in which women shared labor, raw materials, and textile equipment to supplement family incomes. As the nineteenth century approached and textile mills emerged first in New England, new groups of European immigrant weavers would arrive in New England before moving westward to cheaper available land and spread industrialization to America’s rural interior.
Coverlet weavers were among some of the earliest European settler in the Northwest Territories. After helping to clear the land and establish agriculture, these weavers focused their attentions on establishing mills and weaving operations with local supplies, for local markets. This economic pattern helped introduce the American interior to an industrial economy. It also allowed the weaver to free himself and his family from traditional, less-favorable urban factory life. New land in Ohio and Indiana enticed weavers from the New York and Mid-Atlantic traditions to settle in the Northwest Territories. As a result, coverlets from this region hybridized, blending the fondness for color found in Pennsylvania coverlets with the refinement of design and Scottish influence of the New York coverlets.
Southern coverlets almost always tended to be woven in overshot patterns. Traditional hand-weaving also survived longest in the South. Southern Appalachian women were still weaving overshot coverlets at the turn of the twentieth century. These women and their coverlets helped in inspire a wave of Settlement Schools and mail-order cottage industries throughout the Southern Appalachian region, inspiring and contributing to Colonial Revival design and the Handicraft Revival. Before the Civil War, enslaved labor was often used in the production of Southern coverlets, both to grow and process the raw materials, and to transform those materials into a finished product.
Because so many coverlets have been passed down as family heirlooms, retaining documentation on their maker or users, they provide a visual catalog of America’s path toward and response to industrialization. Coverlet weavers have sometimes been categorized as artisan weavers fighting to keep a traditional craft alive. New research, however, is showing that many of these weavers were on the forefront of industry in rural America. Many coverlet weavers began their American odyssey as immigrants, recruited from European textile factories—along with their families—to help establish industrial mills in America. Families saved their money, bought cheaper land in America’s rural interior and took their mechanical skills and ideas about industrial organization into the American heartland. Once there, these weavers found options. They could operate as weaver-farmers, own a small workshop, partner with a local carding mill, or open their own small, regional factories. They were quick to embrace new weaving technologies, including power looms, and frequently advertised in local newspapers. Coverlet weavers created small pockets of residentiary industry that relied on a steady flow of European-trained immigrants. These small factories remained successful until after the Civil War when the railroads made mass-produced, industrial goods more readily available nationwide.

As a young child visiting my great aunt in the nursing home, I would love to sneak to the lower floor and watch as residents wove blankets on large floor looms. I dreamt of weaving my own blanket. When I married and moved to Charlottesville, Virginia, over 30 years ago, I walked by a shop selling Schacht looms and offering classes. I went home with a table loom that day—a far cry from those big looms in the nursing home, but just as exciting. Money was tight, so I got an old spinning wheel and ordered raw fleeces to make my own yarn. When we moved to a small colony farm in Palmer, Alaska, in 1989, I knew right away I would get the perfect sheep to grow the best wool for my projects. Many more looms and sheep followed. Superfine merino sheep originally from Morehouse Farm in New York entered the picture in 1990 and our flock continued to grow and produce amazing wool. I was unable to keep up with the spinning and started sending our wool to Blackberry Ridge Woolen Mill, who do a great job spinning yarn. I use this yarn to make woolen goods for purchase, including blankets, shawls, scarves, and felted yardage.
When the original creamery of the farm became available, we thought it was a great opportunity to open a small weaving shop. Among the offerings are pre-warped merino wool projects, group scarf classes for those with little to no experience, private beginning warping classes, workshops, and studio time. Supplies are also available: yarn, finished products, looms, and all the other tools and equipment needed for weaving. We teach our group classes on Wolf Pup, Baby Wolf, and Mighty Wolf looms. It is convenient that we can move the looms as needed.
I have always dreamed of weaving a coverlet with my merino wool. I have a copy of Of Coverlets and have envisaged weaving every last one of them. I had eyed the Cranbrook for years and schemed a plan of how to acquire just one more loom. The shop had a great space that called its name. I wanted to weave on this beautiful loom, as well as have it available for others who share the same dream.
One thing I did not realize when I bought the Cranbrook was that the treadles can lock into place to keep the shed open. This is especially helpful when weaving a wide project, as you don’t need to keep your foot on the treadle when you “catch” the shuttle at the other side. (If I had known this, I would have bought the 72″). I tied my tabby threads to treadles 3 and 4, skipped two treadles, and tied my pattern threads to treadles 7, 8, 9, and 10. It was easy to get in a great rhythm and “dance” through the pattern. Good music kept up my beat. The weighted hanging beater option made it relaxing and gave me a dense consistent beat with minimal effort.
I chose Lee’s Surrender as my first project because it is the pattern shown on the “Of Coverlets” introductory page and I found it to be such an inspiration. I continue to dream of bringing the whole book to life through weaving the patterns one by one—even if I have to finish in the nursing home.
For the second row of knots, divide each of these groups into two groups of 10. Skip the first group of 10. Combine the second and third groups of 10, tying them together in an overhand knot. Repeat across the weaving until you come to the last group of 10, which is left untied on this row.
For the final row of knots, divide each group of 20 into two groups of 10. Combine the first group of 10 (skipped on the previous row) and the second group of 10, tying them together in an overhand knot. Repeat with the third and fourth groups of 10, working across the weaving. There are no groups of 10 untied on this row.
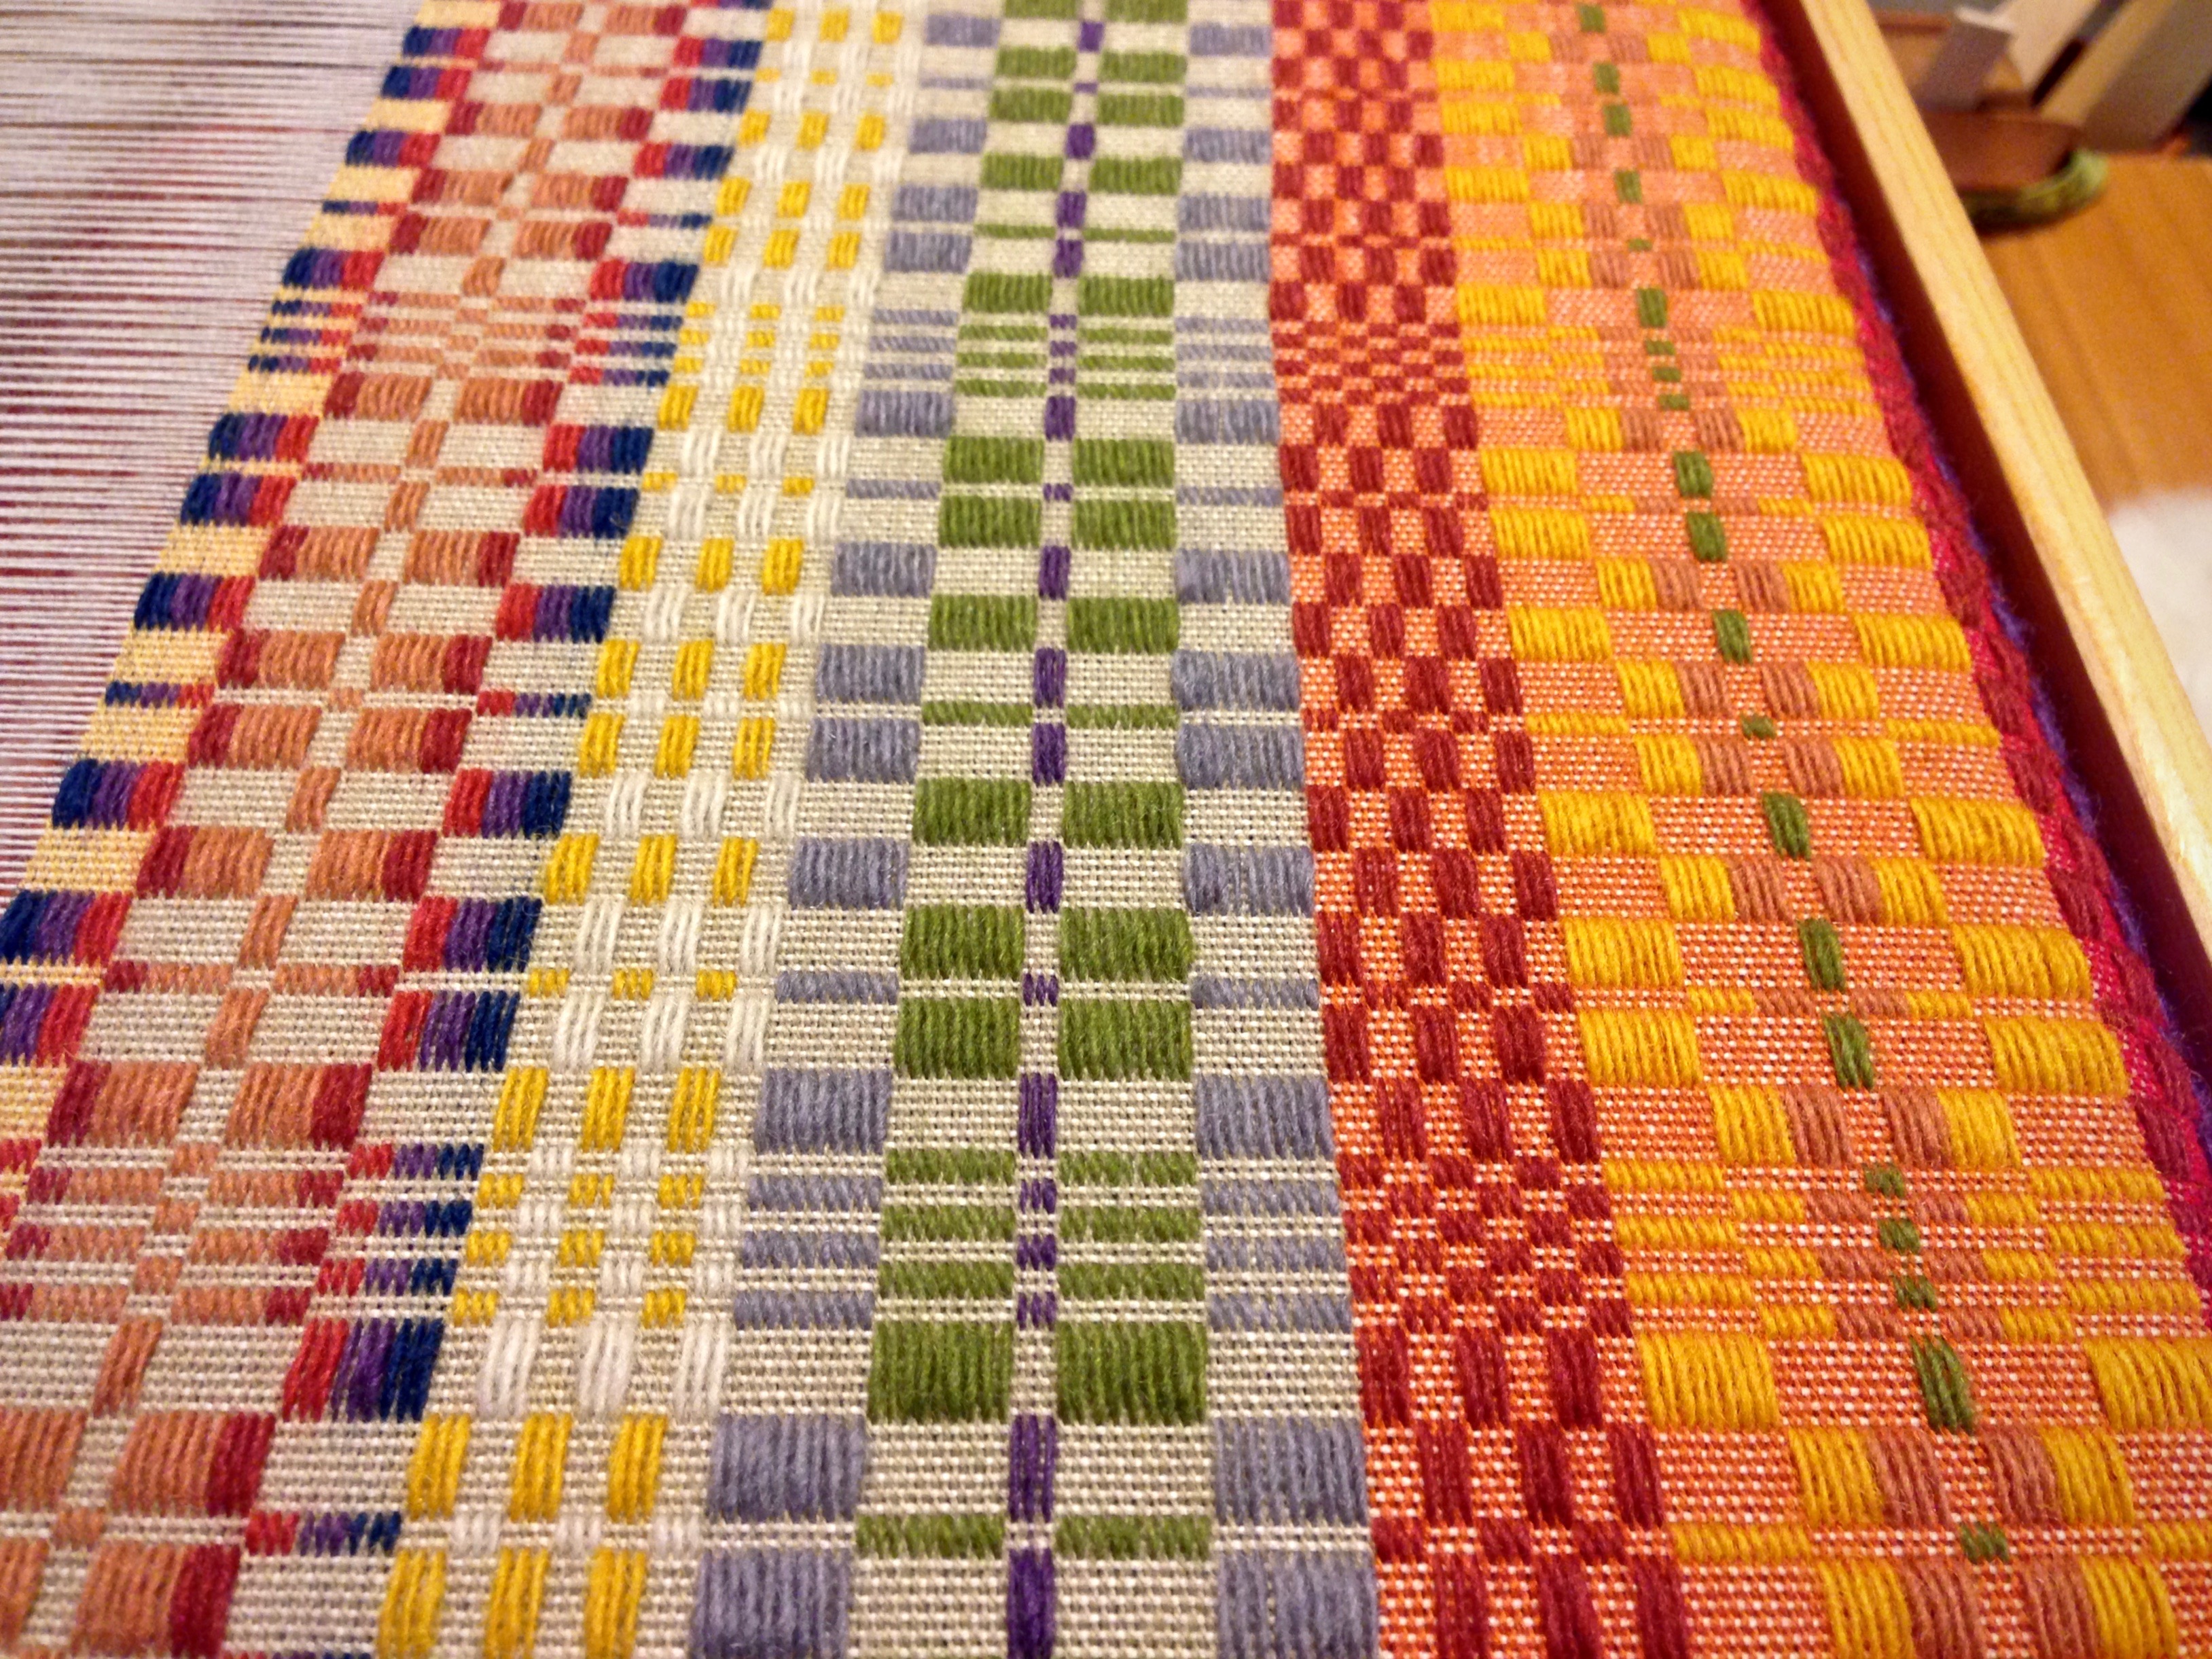
I have been weaving for the past few days (whoo hoo!). I am making cloth for my next batch of hand bound books. In the face of a million possibilities I decided to stick with something traditional. So, I picked a few miniature overshot designs with names I thought might be appealing and/or seasonal, such as Young Lovers’ Knot and Star of Bethlehem, did some math, wound a warp, dressed my loom, and got to work.
Anyway, the point is, the second repeat of the design looked very different from the first and I though I had made a mistake. “Hmm. Weird. Haven’t woven overshot in a while, must be rusty.” I checked my treadling carefully and everything was accurate. I used my trusty angle-measuring tool, set at 45 degrees, and my beat wasn’t consistent between the repeats; one repeat was more square than the other. I figured my beat was the problem, and that I would settle into a rhythm after a while. So I kept going, and finished up the red section. The problem didn’t go away. I didn’t mind the alternating look between pattern repeats because it was consistent and kind of rhythmical. In fact, I liked the little daisies in the corners of the less compact version of the pattern. Daisies, diamonds, daisies, diamonds. Not too bad.
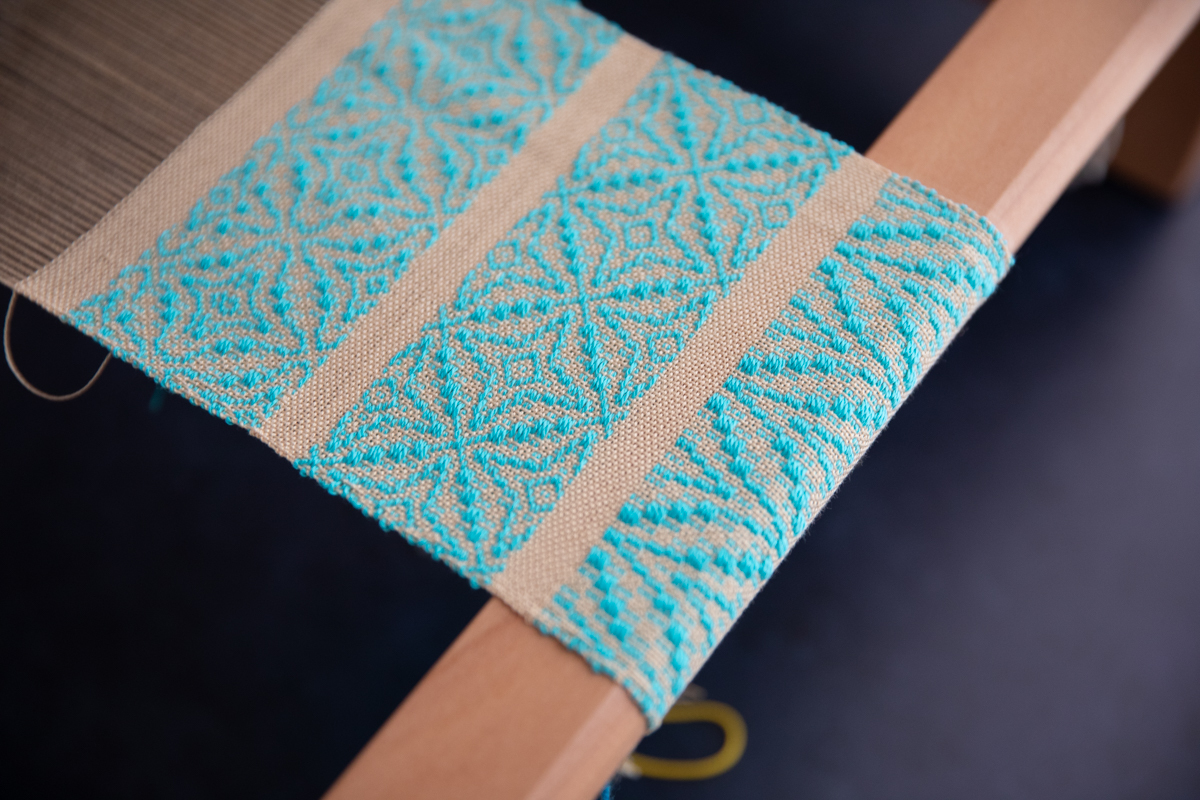
Overshot is a weave structure where the pattern is created with long weft floats. They would be too unstable to be useful unless you secured the floats to a stable background. To make a stable background, you weave a pick (or row) of plain weave between each pick of pattern weft. Typically the plain weave thread is the same yarn as the warp, and the pattern weft is much thicker. Plain weave is a very stable weave structure because it has the maximum number of intersections of vertical (warp) and horizontal (weft) threads. For some reason that I’ve always meant to look up, plain weave is also called tabby, especially when it’s used in this way to alternate with pattern wefts.
Plain weave is made up of two alternating sheds: usually all the odd numbered shafts or harnesses work together, and all the even ones work together, and they alternate. They are sometimes called tabby a and tabby b to tell them apart. For overshot, you weave one row of pattern, then tabby a, the second row of pattern, then tabby b, the third row of pattern, back to tabby a, and so on.
Depending on your overshot pattern, one tabby tends to push the pattern weft floats apart, and the other tends to let them squeeze together. The pushy one can make the pattern pixelated, slightly elongated, or hard to see. The squeezy one helps the pattern pull together and look compact and distinct. The proper term for the squeezy tabby is “emboldening tabby.” You want the emboldening tabby. I was only getting the emboldening tabby on every other pattern repeat. Rats. After weaving the green section I decided, for the sake of consistency and for the sake of my good name as a master weaver, to fix it.


 8613371530291