
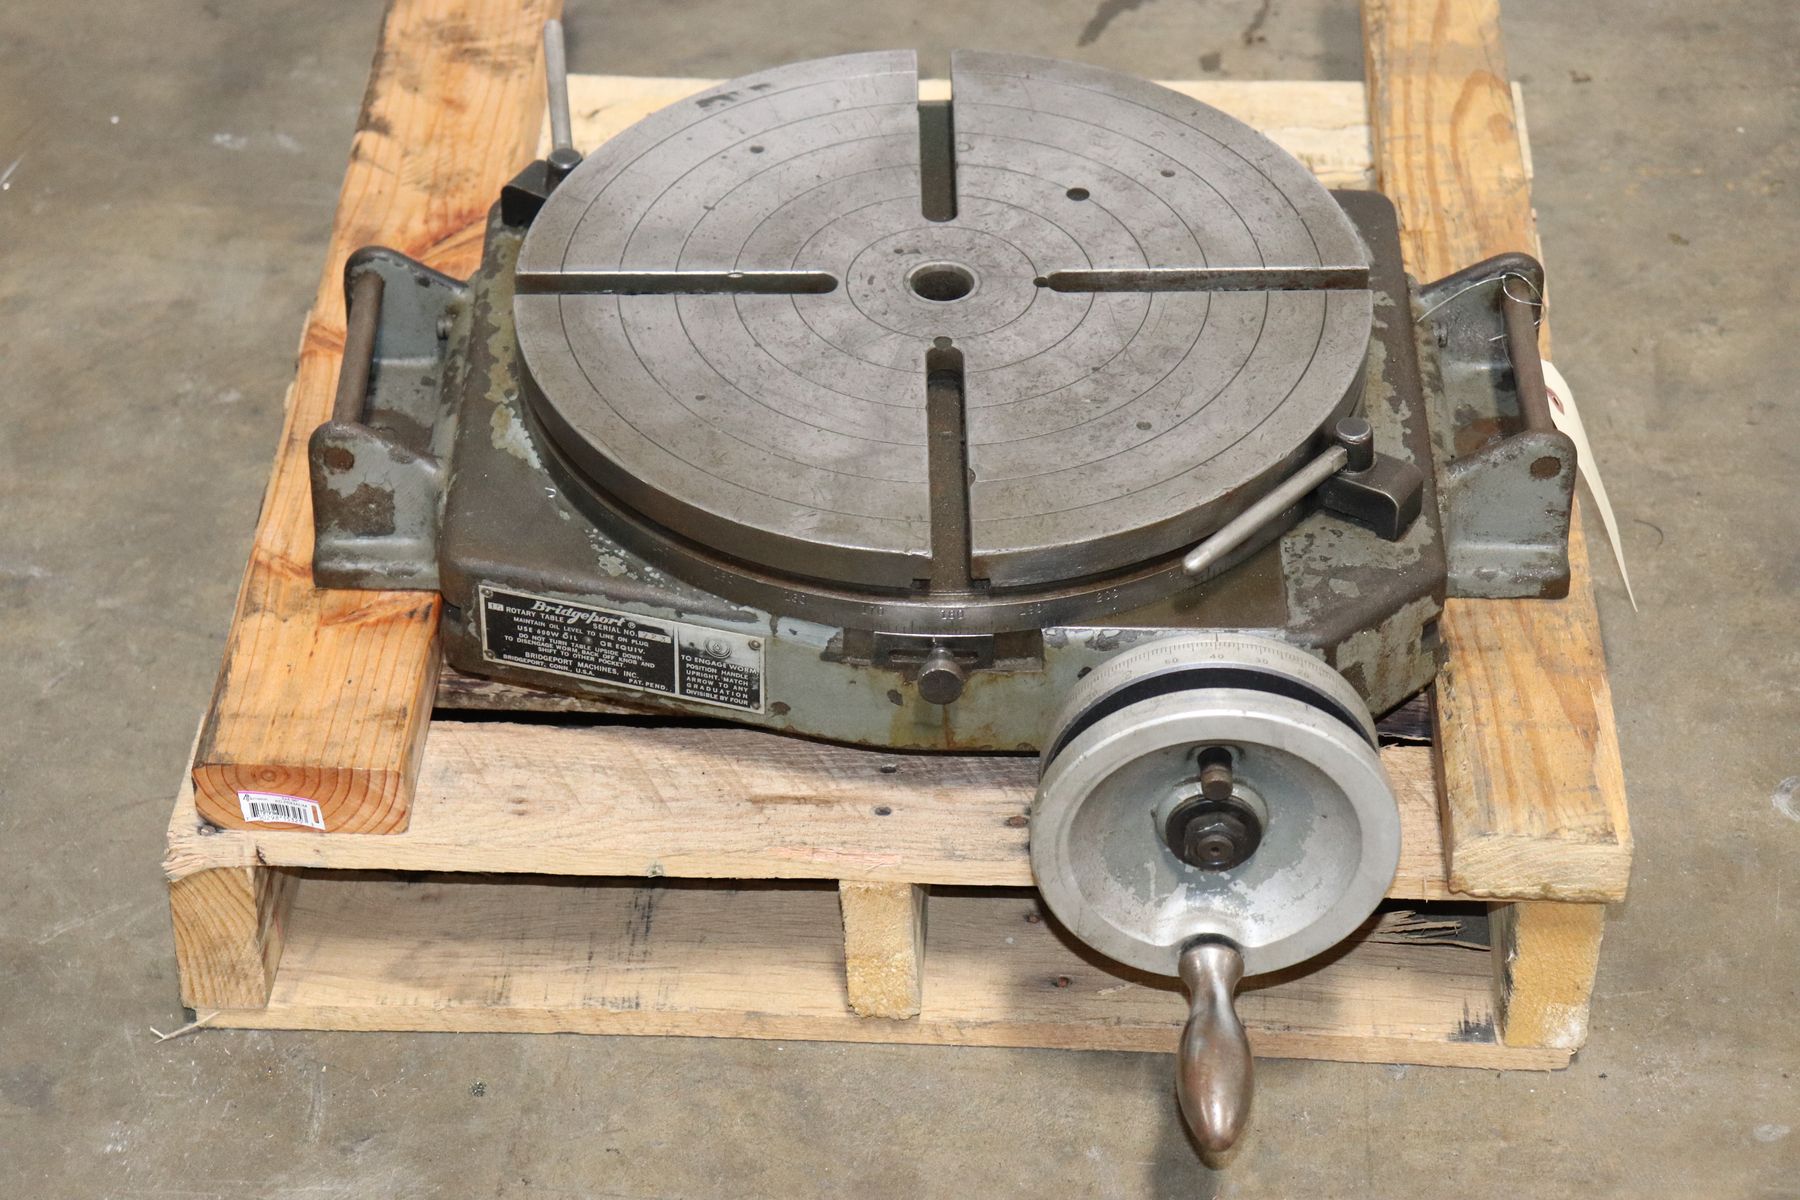
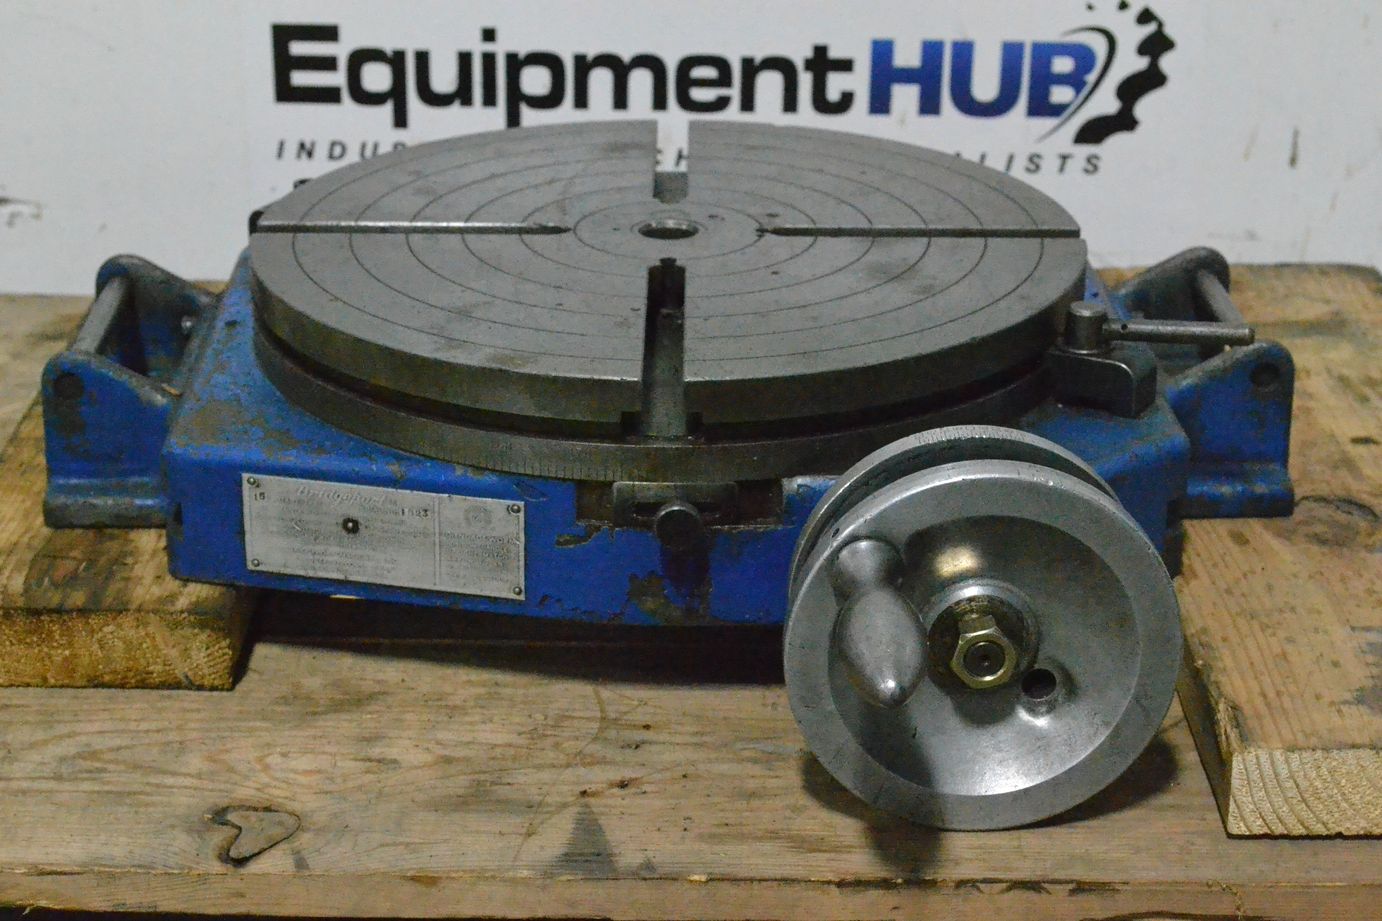
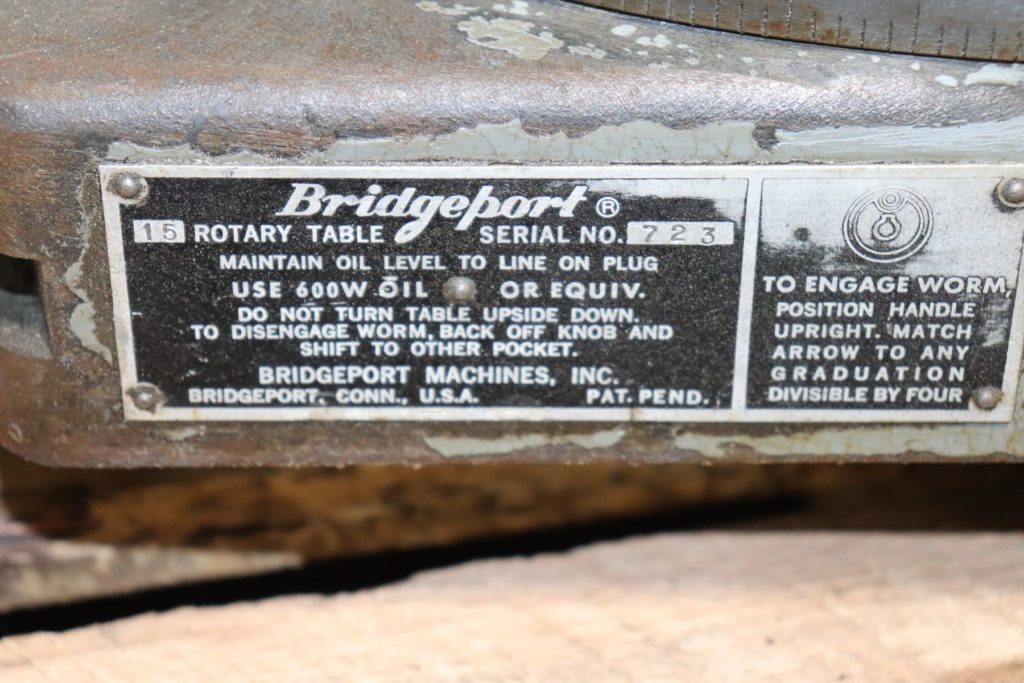
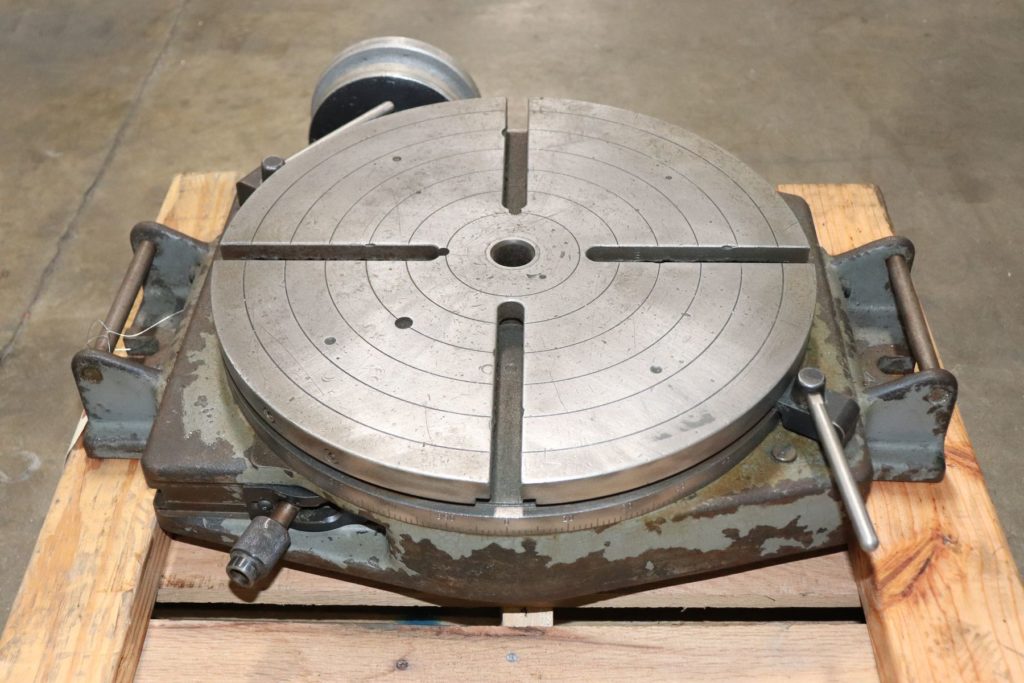
bridgeport rotary table manual quotation
Years ago, before I learned CNC, I owned a Phase II 8″ horizontal/vertical rotary table that I purchased from Kap Pullen’s Getmachinetools.com store. He has them at a good price, BTW, and he’s a darned nice fellow to deal with as well as being a frequent HSM contributor. Anyway, its a nice little table, but I hadn’t done a whole lot with it for quite a while after purchasing it. As is so often the case, one day, a project landed on my doorstep and I was glad to have it.
Before I could get started, however, I had to make some accessories for it. Basically, I needed some T-Nuts to fit the table, as well as a little fixture that makes it easy to hold a plate up off the table through a hole in the center so you can machine it. The latter, what I call a “plate machining fixture”, was inspired by something similar I saw the Widgitmaster of CNCZone fame using to make Dremel clamps for his mini-router:
The Plate Maching Fixture and 3 Homemade T-Nuts. T-Nuts are easy to make: square a block to the proper dimensions, mill the side reliefs, drill, and tap. These are much smaller than the mill’s Bridgeport standard T-slots, so I made them myself and I’m using 1/4-20 bolts with them. They’re made of mild steel.
I turned the round spigot using the 4-jaw on the lathe. I’m making the fixture out of MIC-6 aluminum plate, which is pre-ground very flat on the sides. This is a 5 inch by 3 inch piece. I’ve clamped it to the rotab using my T-nuts and the regular mill clamps and step blocks. It is sitting on parallels to make sure I don’t cut into the table. You can also see how I’ve clamped the rotary table to the mill table using a big cast iron V-block I have. You can never have to many blocks with precision faces hanging around!
Having a 4-jaw chuck on your rotary table is mighty handy! Because it’s a 4-jaw, you can dial in the workpiece by adjusting the jaws until it is perfectly concentric with the table’s axis of rotation. The best way is to make an adapter plate that attaches to the back of the chuck in the same way that your lathe does so you can exchange lathe tooling with the rotab. Here is an example:
For the example, the chuck is threaded onto the adaptor plate, and then the holes in the adapter plate’s flange are used to bolt down to T-nuts on the table.
In my case, I bought a 4-jaw from Shars brand new, and simply drilled some through-holes in the chuck to mount to the table directly without an adapter plate:
First, you want to make sure your part is properly centered on the table. To do that, I clamp the table down on the mill table (no special place is needed), put my Indicol indicator holder on the mill spindle, and find some round feature on the part to indicate on. For example, on the plate milling fixture above, indicate on the round boss, or on the center hole. Spin the table and bump the part in until spinning the table doesn’t move the indicator.
Second, locate the center of rotation directly under the mill spindle. You can simply use the X and Y table handwheels to do this. Use that Indicol to indicate off of a circular feature you want centered under the spindle. Turn the indicol around on the spindle and adjust the handwheels until the indicator stays put relative to the spindle position. A Blake Coaxial indicator will make this last even simpler.
When you’re rounding partially by cranking a part around on the rotary table, it’s really easy to go a little too far and screw things up. The answer is to drill the end points to make the exact stopping point on the rotab a lot less sensitive:
Centering with a Blake indicator is really fast, but what if you don’t have a Blake, or worse, what if your mill is too small to accomodate one? Here is a nice solution I found on a German site. This fellow has made an ER collect fixture for his rotary table, and has taken care that when installed on the table, the axis of the collet is aligned with the table’s axis. He can then place a dowel or other straight pin in the collet and line up until it will go into a similarly sized collet on the spindle. Nice trick! It’s similar to how Widgitmaster showed me to align a drill chuck on a QCTP to the lathe centerline with a dowel pin held in the lathe chuck.
Piedmont Precision Machine Co., Inc. made its mark in a machine market once made up of manual machining. We still are known for the quality of this type work, having machinist who are still with the company for more than 30 years. Having this kind of knowledge at our disposal allows us to come up with innovative fixes for our customers repairs and rush repairs.
Our facility has up-to-date lathes with turning capacities of 72-inch diameter and center-to-center distances of 320 inches. Our manual lathes are fully equipped with DRO (digital readout) systems.
WWMW utilizes CNC and manual horizontal boring mills, CNC vertical machining centers, and universal mills. Our boring mills have large table capacity up to 25,000 pounds, and our manual mills are fully equipped with DRO (digital readout) systems. For projects such as motor bases, gear boxes, platens or just large weldments, WWMW has the machine to fit your needs.
Turning Milling G rinding Workholding www.hardinge.com Hardinge Inc. O ne Hardinge Drive P.O. Box 1507 | Elmira, NY 14902-1507 USA U SA: 800-843-8801 | Canada: 800-468-5946 Phone: 607-734-2281 | Fax: 607-734-8819 E-mail: info@hardinge.com | www.hardinge.com Brochure # C 1371 Bridgeport GX 300 • Travel (X, Y, Z) 11.80”, 15.76”, 16.94” • Horsepower 20 HP (30 min. rating) • 7,083-rpm Max Spindle Speed • 98.8 ft-lbs torque • 20 Station Swing Arm ATC Bridgeport GX 510 • Travel (X, Y, Z) 20”, 15.76”, 16.94” • Horsepower 20 HP (30 min. rating) • 7,083-rpm Max Spindle Speed • 98.8 ft-lbs torque • 20 Station Swing Arm ATC Bridgeport GX 300 & GX 510 Machining Centers Key Differentiators: - Unique design allows machines to be stacked side by side - Robust spindle with 20 horsepower and 99 ft-lbs of torque - Heavy-duty linear roller guide-ways - 20 station swing arm ATC as standard equipment for high production - Rear chip discharge - Programmable pneumatic rails & hydraulic clamping - Programmable auto-door - 8 additional M-codes Hardinge’s Rotary Tables Both the GX 300 & GX 510 have the ability to utilize Hardinge’s full line of rotary products to enhance your machining capabilities. Ask one of our certified workholding representatives to learn more about our rotary product offering. The GX 300 & GX 510 machining centers are designed and built for a production environment. A unique design allows for these machines to literally overlap one another to better utilize valuable floor space and to promote cell manufacturing. The design allows access to only be necessary from the front and back of the machine allowing you to stack these machines side by side. This type of floor plan and machine design is perfect for automation. Add some robots or a gantry system and you can increase your productivity with virtually no labor costs. D on’t let the compact footprint fool you, these machines pack a powerful punch! With 20HP and 99 ft-lbs of torque these machines are sure to be a market leader!. These specifications make the GX 300 & GX 510 ideal for the aerospace, medical, defense, 3C, automotive and other industries who require high-value, complex parts from difficult to machine materials. Ask a certified Bridgeport representative for a quote today to learn more about these new production machining centers!


 8613371530291