
centering workpiece on rotary table for sale

Most small rotary tables have some sort of center hole, sometimes with a cylindrical bore but often with a Morse taper. If the part you"re wanting to center has its own center hole, you might be able to make a plug that fits the rotary table center hole and the part center hole.
The more common way of centering a workpiece on a rotary table requires that you measure the difference between workpiece radii that are 180 degrees apart, and then adjust the workpiece location on the rotary table to split the difference. The most common tool used to make the measurements is a dial gage or dial indicator that must be held stationary; most often the dial gage is anchored to the machine spindle while the rotary table base is clamped to the table.
After you center the work on the rotary table by eye, set a dial indicator up to probe the reference surface. Adjust the indicator holder or move the table so that the dial gage plunger is pressed about half way into its range of travel before zeroing the indicator. Now turn the rotary table top and workpiece (as an assembly) a half turn before reading the dial gage.
Now you want to move the workpiece relative to the rotary table surface until the dial gage reads one-half of the second value. Let"s say your two dial gage readings are A. 0.000 inch, and B. 0.138 inch . . . you want to move the workpiece until the dial gage reads 0.069 inch at BOTH positions A and B.
Next, you need to repeat the measure-rotate 1/2 turn-measure-split the difference process at positions C and D, which must be on a line perpendicular to that connecting A and B.
Since it"s about impossible to move the part on the table exactly the right amount in the right direction, it"s vital that you recheck and readjust A and B after you adjust along C and D . . . and then you"ll need to check and readjust C and D again, and so on and so on. While you"re learning, it"ll seem like you"re chasing your tail, but it is a skill you"ll learn.
To reiterate, the important part is that when adjusting the part on the table you need to rotate the part and table together when you make your measurements, NOT the machine table.
Then later, if you need to center the table under the spindle, you rotate the spindle to measure and move the machine table, which has the rotary table and part bolted to it, to make the adjustment.

All CategoriesAntiquesArtBabyBooks & MagazinesBusiness & IndustrialCameras & PhotoCell Phones & AccessoriesClothing, Shoes & AccessoriesCoins & Paper MoneyCollectiblesComputers/Tablets & NetworkingConsumer ElectronicsCraftsDolls & BearsMovies & TVEntertainment MemorabiliaGift Cards & CouponsHealth & BeautyHome & GardenJewelry & WatchesMusicMusical Instruments & GearPet SuppliesPottery & GlassReal EstateSpecialty ServicesSporting GoodsSports Mem, Cards & Fan ShopStampsTickets & ExperiencesToys & HobbiesTravelVideo Games & ConsolesEverything Else

then, to centre the workpiece itself, you first decide what accuracy level of centring you need.....just using a pointy mill wiggler in the spindle and aligning it with scribed lines on the workpiece can get you within .005 if you"re careful.
if you need to be closer, take a step back in history....."button up" the job with a toolmakers button......drill and tap for the button in the workpiece"s approx centre, snug up the button, adjust the button to the exact desired relationship with whatever surface or other feature of the workpiece defines your centre, and tighten up the button.
when your workpiece is placed on the rotary table, sweep the button with an indicator in the spindle, adjust position til your indicator zeroes out, and you"ll have it centred within the possible accuracy of the setup.

When using a rotary table on a mill, whether to mill an arc or drill holes in some circular pattern, there are two things that must be done to set up the workpiece. First, the workpiece must be centred on the rotary table. Second, the rotary table must be centred under the spindle. Then the mill table can be moved some appropriate distance and you can start cutting.
You could centre the table under the spindle first, by indicating off the hole in the centre of the table. Then you could mount the workpiece on the table and indicate off the workpiece. There are two problems with this approach. First, you are assuming that the hole in the table is true and centred. That may or may not be true. Second, this approach risks a sort of accumulation of errors, as you"re measuring from two different features (the rotary table"s hole and some feature on the workpiece). My suggestion is to centre the workpiece on the rotary table first, and then centre the rotary table under the spindle.
As shown in this photo, a DTI has been positioned with its tip against the inside of a hole in the workpiece. The DTI is held in the mill spindle, but that"s just for convenience. (When I do this, I put a little wooden wedge between the spindle pulley and the headstock, to make sure the indicator remains stationary.) It could as easily be held on a test stand. Indeed, the measurement doesn"t have to be done on the mill at all.
To centre the workpiece on the rotary table, spin the rotary table and watch for deflection of the indicator pointer. Adjust the chuck jaws as required, until the needle no longer deflects.
After the workpiece is centred on the rotary table, you now turn the spindle by hand, so the DTI tip sweeps the inside of the hole. Adjust the position of the mill table as required until no needle deflection is noted.
Again in this photo, a DTI is measuring from the inside of a hole. As in the previous illustration, the rotary table is spun and the workpiece"s position on the rotary table is adjusted until the DTI shows no deflection.
After the workpiece is centred on the rotary table, you now turn the spindle so the DTI tip sweeps the inside of the hole. Adjust the position of the mill table as required until no needle deflection is noted.
You can, of course, use the pointed end of a centre finder to position over a point on the workpiece. When centring the table under the spindle, if you are indicating off a larger hole or other curved feature, you may need to mount the indicator on a short arm, so you can sweep a large enough radius.

Is the rotary table axis above the X-Y slides as it appears? If you only need rotational motion you can flop it on your mill table anywhere convenient and clamp it down. Put a known circular object with enough weight not to move from indicator pressure on the table and get it centered by eye. Then with an indicator mounted anywhere convenient rotate the table and see how far out your object is. Tap it over toward center until you"re satisfied and now you have a circular table reference. Now mount the indicator in the spindle if it isn"t already, and move the mill"s X-Y to get your target object in line with the spindle.
If you trust the table"s outer rim sufficiently and your picture looks like rust could interfere, just mount the indicator in the spindle and with a sufficient extension sweep the rim.
If your rotary table is mounted close enough to the mill spindle centerline you could use the slides under it to re-position it sweeping the rim or your target.

Our product range includes single and multiple axes, tilt/rotating tables, and indexing and high-speed spindles. Additionally, we offer customized solution tables for customer requests or OEM projects.
Customer satisfaction is our highest priority. Due to a high degree of vertical integration, our customers have one point-of-contact and the guarantee that all components are manufactured and assembled to your specifications.
Even for EDM machines that have been in use for decades, we will work with you to determine the ideal rotary indexing table and/or rotating/indexing spindle solution.
Our state-of-the-art rotary indexing tables and customizable reference and clamping systems provide endless application possibilities and highly efficient solutions.
Customer satisfaction is our top priority. You specify the task and together we’ll find the optimal solution for your production challenges and products.

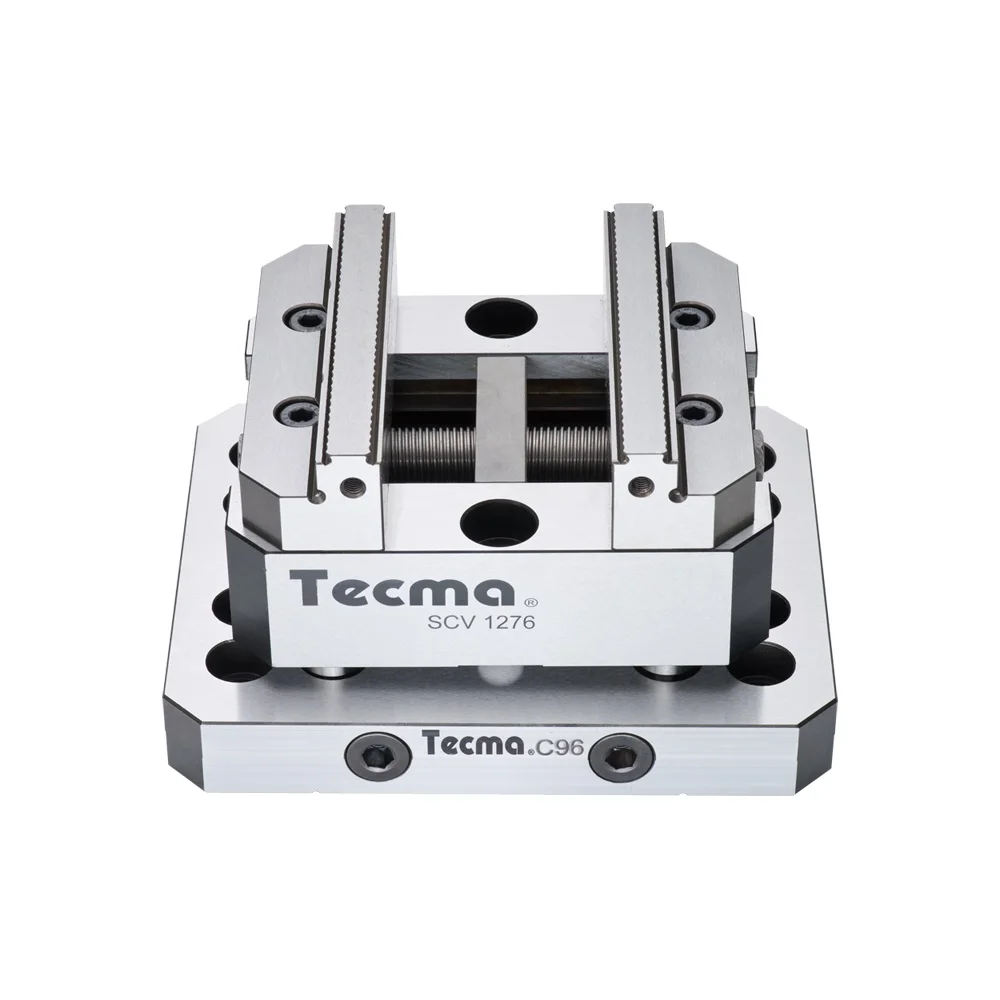
Mounts directly to a rotary table, Fixture Pro® Riser or any QLS Grid. Reduces distortion of parts like standard vises. Requires very little material (0.060” or less) to clamp. By cutting a 10º angle ...
Mounts directly to a rotary table, Fixture Pro® Riser or any QLS Grid. Reduces distortion of parts like standard vises. Requires very little material (0.060” ...
... gripping equipment. Detailed documentation is provided on request.These vises are exclusively intended for use as a static locking unit (mounting on CNC rotary tables, with rotating tools); ...
... gripping equipment. Detailed documentation is provided on request. These vises are exclusively intended for use as a static locking unit (mounting on CNC rotary tables, with rotating ...
High pressure ARNOLD TWIN vices are capable of clamping two pieces simultaneously.- Accuracy of 0.01 mm in clamping repeatability.- Suitable for working in horizontal and vertical machining centres.- Grinding of all ...
With DirectIndustry you can: Find the product, subcontractor or service provider you need | Find a nearby distributor or reseller| Contact the manufacturer to get a quote or a price | Examine product characteristics and technical specifications for major brands | View PDF catalogues and other online documentation

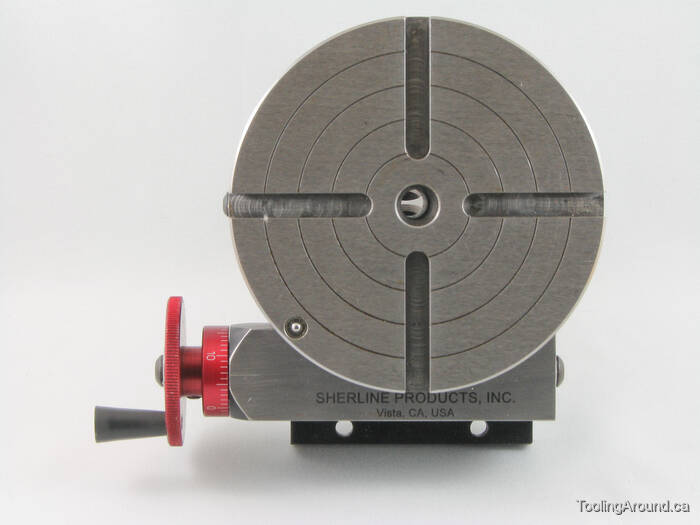
Compact precision CNC rotary table, suitable for single part or small batch production in precision engineering. A horizontal or vertical assembly is possible. You can not buy a better quality!
It is suitable as 4th axis on engraving and milling machines for engraving, lasering, drilling, grooving, milling or for use on a tool or surface grinding machine. Square, hexagonal, gear milling of any pitch or 3D machining is possible.
Technical data: - center distance 1500 mm- center height 400 mm- max. machining diameter FI 400 mm- motor power 4,0 kW- voltage 400 V / 50 Hz- spindle speed 3000 rpm- number of controlled axes 3- guide linear guides and ball screw- control MACH3 + software- pneumatic workpiece clamping- V-shape steel- milling spindle for flat engraving- compressed air supply 6 bar- dimensions L=2700, W=1400, H=1750 mm- net weight 1800 kg
Reversible clamp, 4th axis, rotary table, rotary dividing table, controlled rotary table, dividing attachment, dividing head, rotary indexing table rotary coupling

Years ago, before I learned CNC, I owned a Phase II 8″ horizontal/vertical rotary table that I purchased from Kap Pullen’s Getmachinetools.com store. He has them at a good price, BTW, and he’s a darned nice fellow to deal with as well as being a frequent HSM contributor. Anyway, its a nice little table, but I hadn’t done a whole lot with it for quite a while after purchasing it. As is so often the case, one day, a project landed on my doorstep and I was glad to have it.
Before I could get started, however, I had to make some accessories for it. Basically, I needed some T-Nuts to fit the table, as well as a little fixture that makes it easy to hold a plate up off the table through a hole in the center so you can machine it. The latter, what I call a “plate machining fixture”, was inspired by something similar I saw the Widgitmaster of CNCZone fame using to make Dremel clamps for his mini-router:
The Plate Maching Fixture and 3 Homemade T-Nuts. T-Nuts are easy to make: square a block to the proper dimensions, mill the side reliefs, drill, and tap. These are much smaller than the mill’s Bridgeport standard T-slots, so I made them myself and I’m using 1/4-20 bolts with them. They’re made of mild steel.
I turned the round spigot using the 4-jaw on the lathe. I’m making the fixture out of MIC-6 aluminum plate, which is pre-ground very flat on the sides. This is a 5 inch by 3 inch piece. I’ve clamped it to the rotab using my T-nuts and the regular mill clamps and step blocks. It is sitting on parallels to make sure I don’t cut into the table. You can also see how I’ve clamped the rotary table to the mill table using a big cast iron V-block I have. You can never have to many blocks with precision faces hanging around!
Having a 4-jaw chuck on your rotary table is mighty handy! Because it’s a 4-jaw, you can dial in the workpiece by adjusting the jaws until it is perfectly concentric with the table’s axis of rotation. The best way is to make an adapter plate that attaches to the back of the chuck in the same way that your lathe does so you can exchange lathe tooling with the rotab. Here is an example:
For the example, the chuck is threaded onto the adaptor plate, and then the holes in the adapter plate’s flange are used to bolt down to T-nuts on the table.
In my case, I bought a 4-jaw from Shars brand new, and simply drilled some through-holes in the chuck to mount to the table directly without an adapter plate:
First, you want to make sure your part is properly centered on the table. To do that, I clamp the table down on the mill table (no special place is needed), put my Indicol indicator holder on the mill spindle, and find some round feature on the part to indicate on. For example, on the plate milling fixture above, indicate on the round boss, or on the center hole. Spin the table and bump the part in until spinning the table doesn’t move the indicator.
Second, locate the center of rotation directly under the mill spindle. You can simply use the X and Y table handwheels to do this. Use that Indicol to indicate off of a circular feature you want centered under the spindle. Turn the indicol around on the spindle and adjust the handwheels until the indicator stays put relative to the spindle position. A Blake Coaxial indicator will make this last even simpler.
When you’re rounding partially by cranking a part around on the rotary table, it’s really easy to go a little too far and screw things up. The answer is to drill the end points to make the exact stopping point on the rotab a lot less sensitive:
Centering with a Blake indicator is really fast, but what if you don’t have a Blake, or worse, what if your mill is too small to accomodate one? Here is a nice solution I found on a German site. This fellow has made an ER collect fixture for his rotary table, and has taken care that when installed on the table, the axis of the collet is aligned with the table’s axis. He can then place a dowel or other straight pin in the collet and line up until it will go into a similarly sized collet on the spindle. Nice trick! It’s similar to how Widgitmaster showed me to align a drill chuck on a QCTP to the lathe centerline with a dowel pin held in the lathe chuck.
* pL SOLUTIONS Shanghai Co. Ltd is part of a network of locally owned, independent representatives and service specialists dedicated exclusively to the sales, service, and support of CNC rotary tables designed and manufactured by the Swiss firm Peter Lehmann AG (pL)
* pL SOLUTIONS India/SEAis part of a network of locally owned, independent distributors and service specialists dedicated exclusively to the sales, service, and support of CNC rotary tables designed and manufactured by the Swiss firm Peter Lehmann AG (pL)
* pL SOLUTIONS Italia is part of a network of locally owned, independent distributors and service specialists dedicated exclusively to the sales, service, and support of CNC rotary tables designed and manufactured by the Swiss firm Peter Lehmann AG (pL)
* pL SOLUTIONS Japan is part of a network of locally owned, independent distributors and service specialists dedicated exclusively to the sales, service, and support of CNC rotary tables designed and manufactured by the Swiss firm Peter Lehmann AG (pL)
* pL SOLUTIONS USAis part of a network of locally owned, independent distributors and service specialists dedicated exclusively to the sales, service, and support of CNC rotary tables designed and manufactured by the Swiss firm Peter Lehmann AG (pL)
* pL SOLUTIONS India/SEA is part of a network of locally owned, independent distributors and service specialists dedicated exclusively to the sales, service, and support of CNC rotary tables designed and manufactured by the Swiss firm Peter Lehmann AG (pL)
* pL SOLUTIONS USA is part of a network of locally owned, independent distributors and service specialists dedicated exclusively to the sales, service, and support of CNC rotary tables designed and manufactured by the Swiss firm Peter Lehmann AG (pL)
* pL SOLUTIONS India/SEAis part of a network of locally owned, independent distributors and service specialists dedicated exclusively to the sales, service, and support of CNC rotary tables designed and manufactured by the Swiss firm Peter Lehmann AG (pL)
* pL SOLUTIONS South Korea is part of a network of locally owned, independent distributors and service specialists dedicated exclusively to the sales, service, and support of CNC rotary tables designed and manufactured by the Swiss firm Peter Lehmann AG (pL)
* pL SOLUTIONS India/SEA is part of a network of locally owned, independent distributors and service specialists dedicated exclusively to the sales, service, and support of CNC rotary tables designed and manufactured by the Swiss firm Peter Lehmann AG (pL)
* pL SOLUTIONS USAis part of a network of locally owned, independent distributors and service specialists dedicated exclusively to the sales, service, and support of CNC rotary tables designed and manufactured by the Swiss firm Peter Lehmann AG (pL)
* pL SOLUTIONS India/SEAis part of a network of locally owned, independent distributors and service specialists dedicated exclusively to the sales, service, and support of CNC rotary tables designed and manufactured by the Swiss firm Peter Lehmann AG (pL)
I use a rotary table for cutting parts for my aircraft Yamaha aircraft engine conversion business far more often than a vise or fastening directly to the table. I really do need a lathe, but I don"t have room for one, I"ve outgrown the space I"m in long ago as it is.
A work piece centering cone with, say, a 1/2" or 3/8" shank to fit into a mill collet would be SOOOO useful! I woudl even buy an expensive R8 centering cone if there was one out there.
For years I have been making do with a 60° chamfering tool, but that really isn"t very good for this, I"ve actually done some slight damage to the tool using it with steel pieces, and it isn"t nearly wide enough for larger parts.


 8613371530291