
haas rotary table installation pricelist
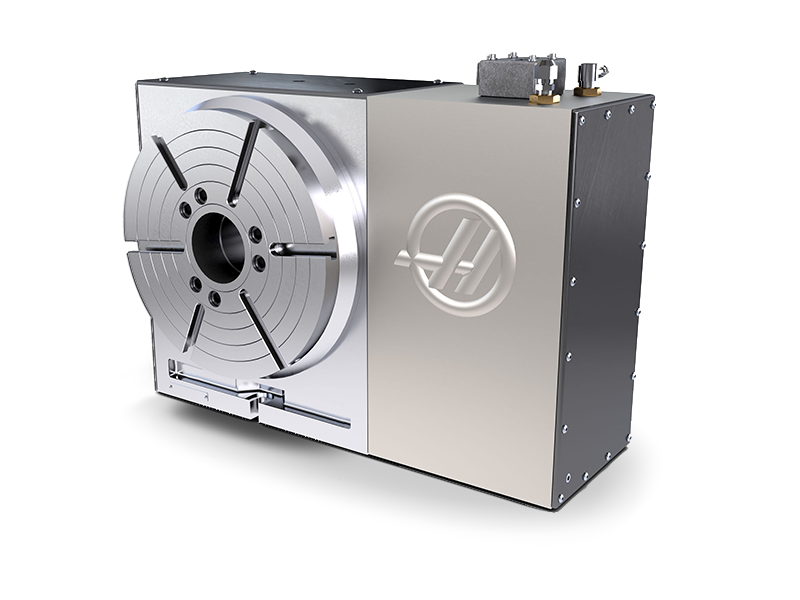
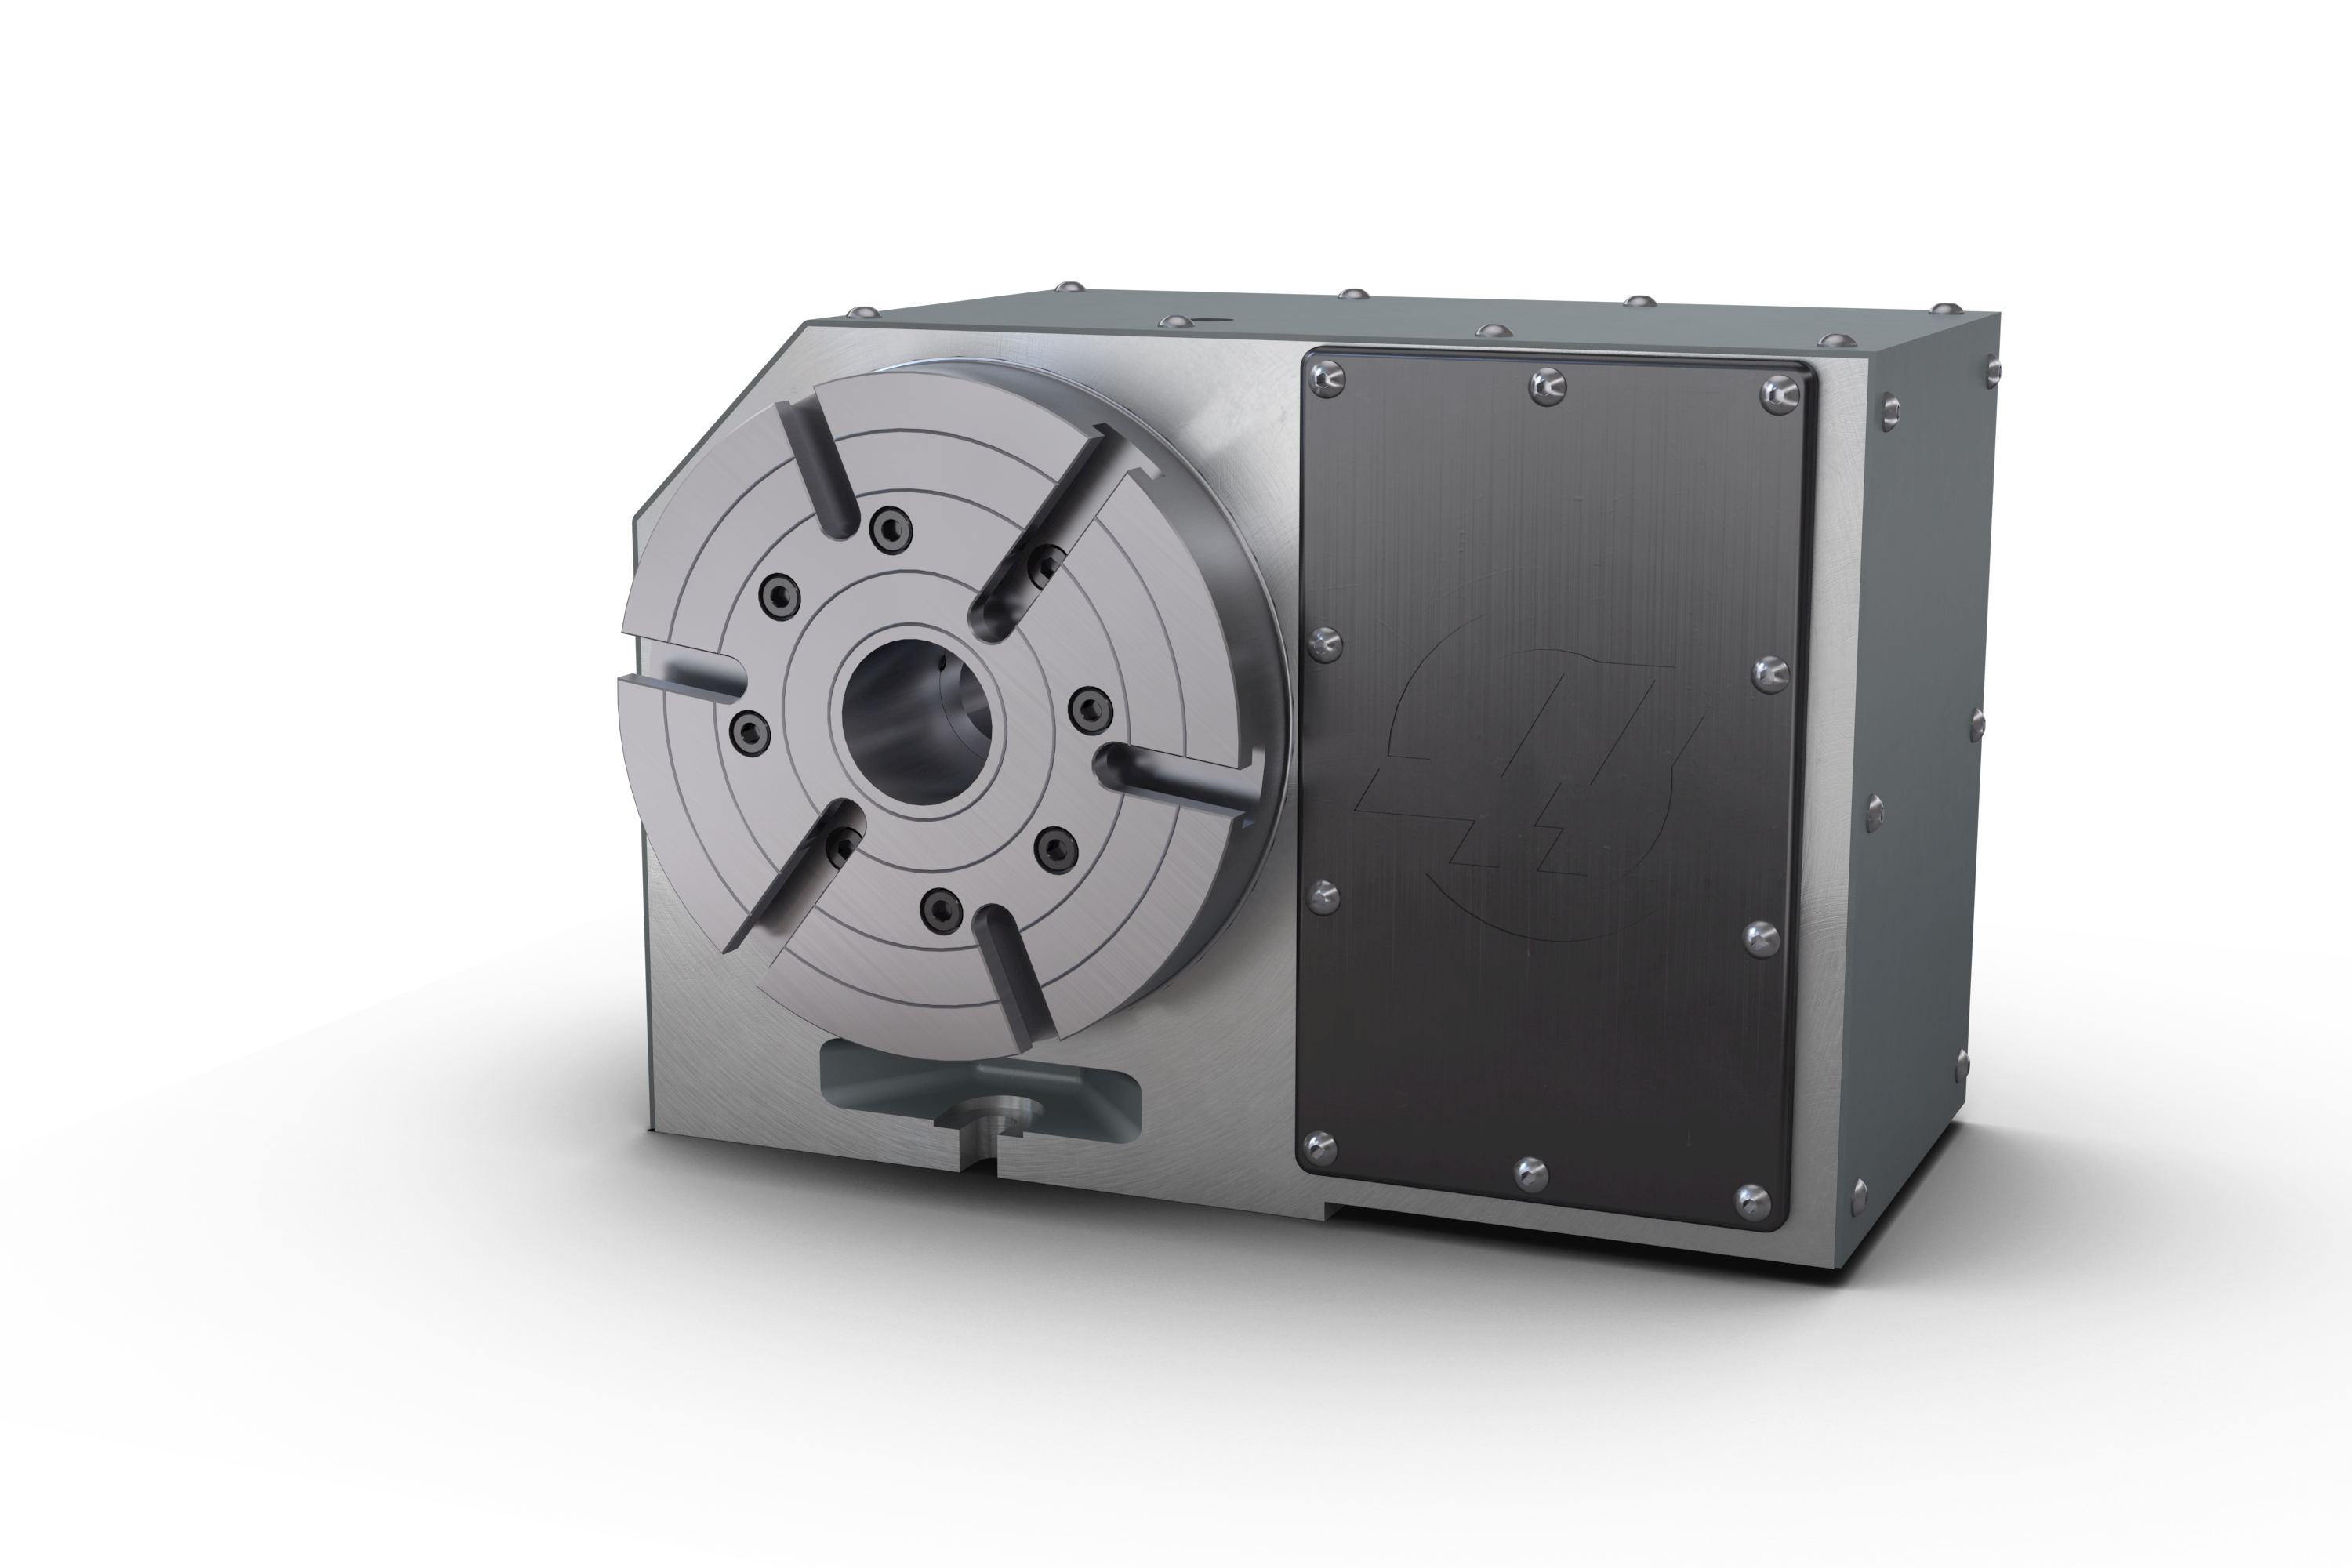
The first part is the model number of the rotary unit [1]. This can be found on the serial plate of the unit. Some Rotary units have a dash in there name, that dash may or may not be in the included in the file name.
The first part is the model number of the rotary unit [1]. This can be found on the serial plate of the unit. Some Rotary units have a dash in there name, that dash may or may not be in the included in the file name.
4. The feedback cables tell the mill that the rotary unit has finished. The relay can be used to FEED HOLD NC machine movements, or can be used to cancel an M function. If the machine is not equipped with this option, an alternative may be to dwell (pause) longer than it takes to move the rotary unit. The relay triggers for all CYCLE START closures, except G97.
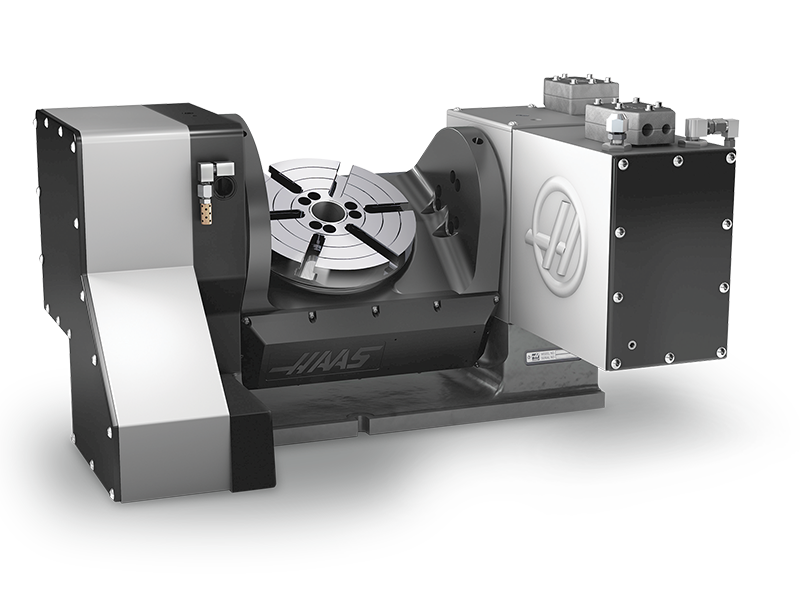
Our redesigned TRT160 tilting rotary table not only puts 5-axis capabilities well within reach of the average job shop, but its new smaller size also provides greater mounting flexibility than its predecessor. We’ve completely redesigned the TRT160 to create a much more compact and versatile 5-axis solution for smaller mills, including Haas Mini Mills and Toolroom Mills. The new unit easily fits on one end of a machine’s table, leaving the remainder open for additional fixtures or vises.
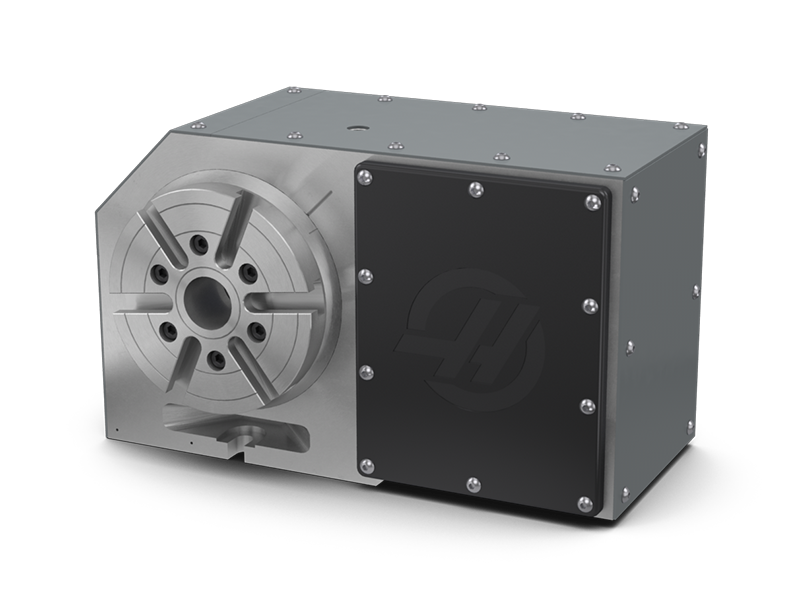
The Third-Party Rotary provision provides access to the rotary parameters in the Haas control, allowing you to use a third-party single- or two-axis rotary table on your Haas machine. The option supports full simultaneous machining up to 5 axes, and is compatible with Dynamic Work Offsets and Tool Center Point Control. It is the responsibility of the customer and the third-party manufacturer to troubleshoot and fine tune the different parameters. Requires the purchase of the 4th-Axis Drive option to operate a single-axis rotary, or the purchase of both 4th- and 5th-Axis Drive options to operate a two-axis rotary.
2. To drain the A axis unscrew the drain port [4] at the bottom of the rotary. The rotary likely will be to be suspended in the air to do this. Rotary units are heavy so take appropriate safety measures while draining the oil. Clean off the oil remaining on the rotary and replace the screw. Both rotaries have two screws on the bottom.
4. To drain the B axis tilt axis to 90° and unscrew the drain port [3]. Only one side has a drain port check for it before tilting the rotary. Once the rotary is empty screw the port plug back in.


 8613371530291