
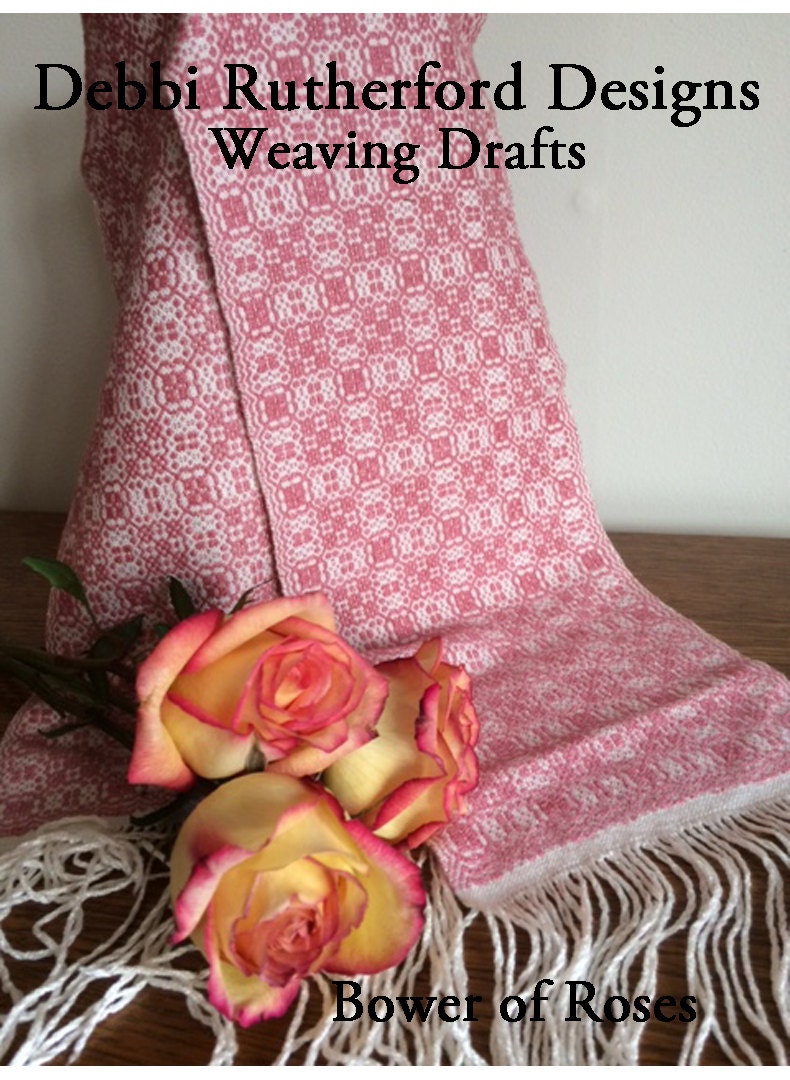
overshot weaving drafts factory

Woven by Rachel SnackWeave two overshot patterns with the same threading using this downloadable weave draft to guide you. This pattern features the original draft along with one pattern variation. Some yarns shown in the draft are available to purchase in our shop: 8/2 cotton, wool singles, 8/4 cotton (comparable to the 8/4 linen shown).
please note: this .pdf does not explain how to read a weaving draft, how to interpret the draft onto the loom, or the nuances of the overshot structure.
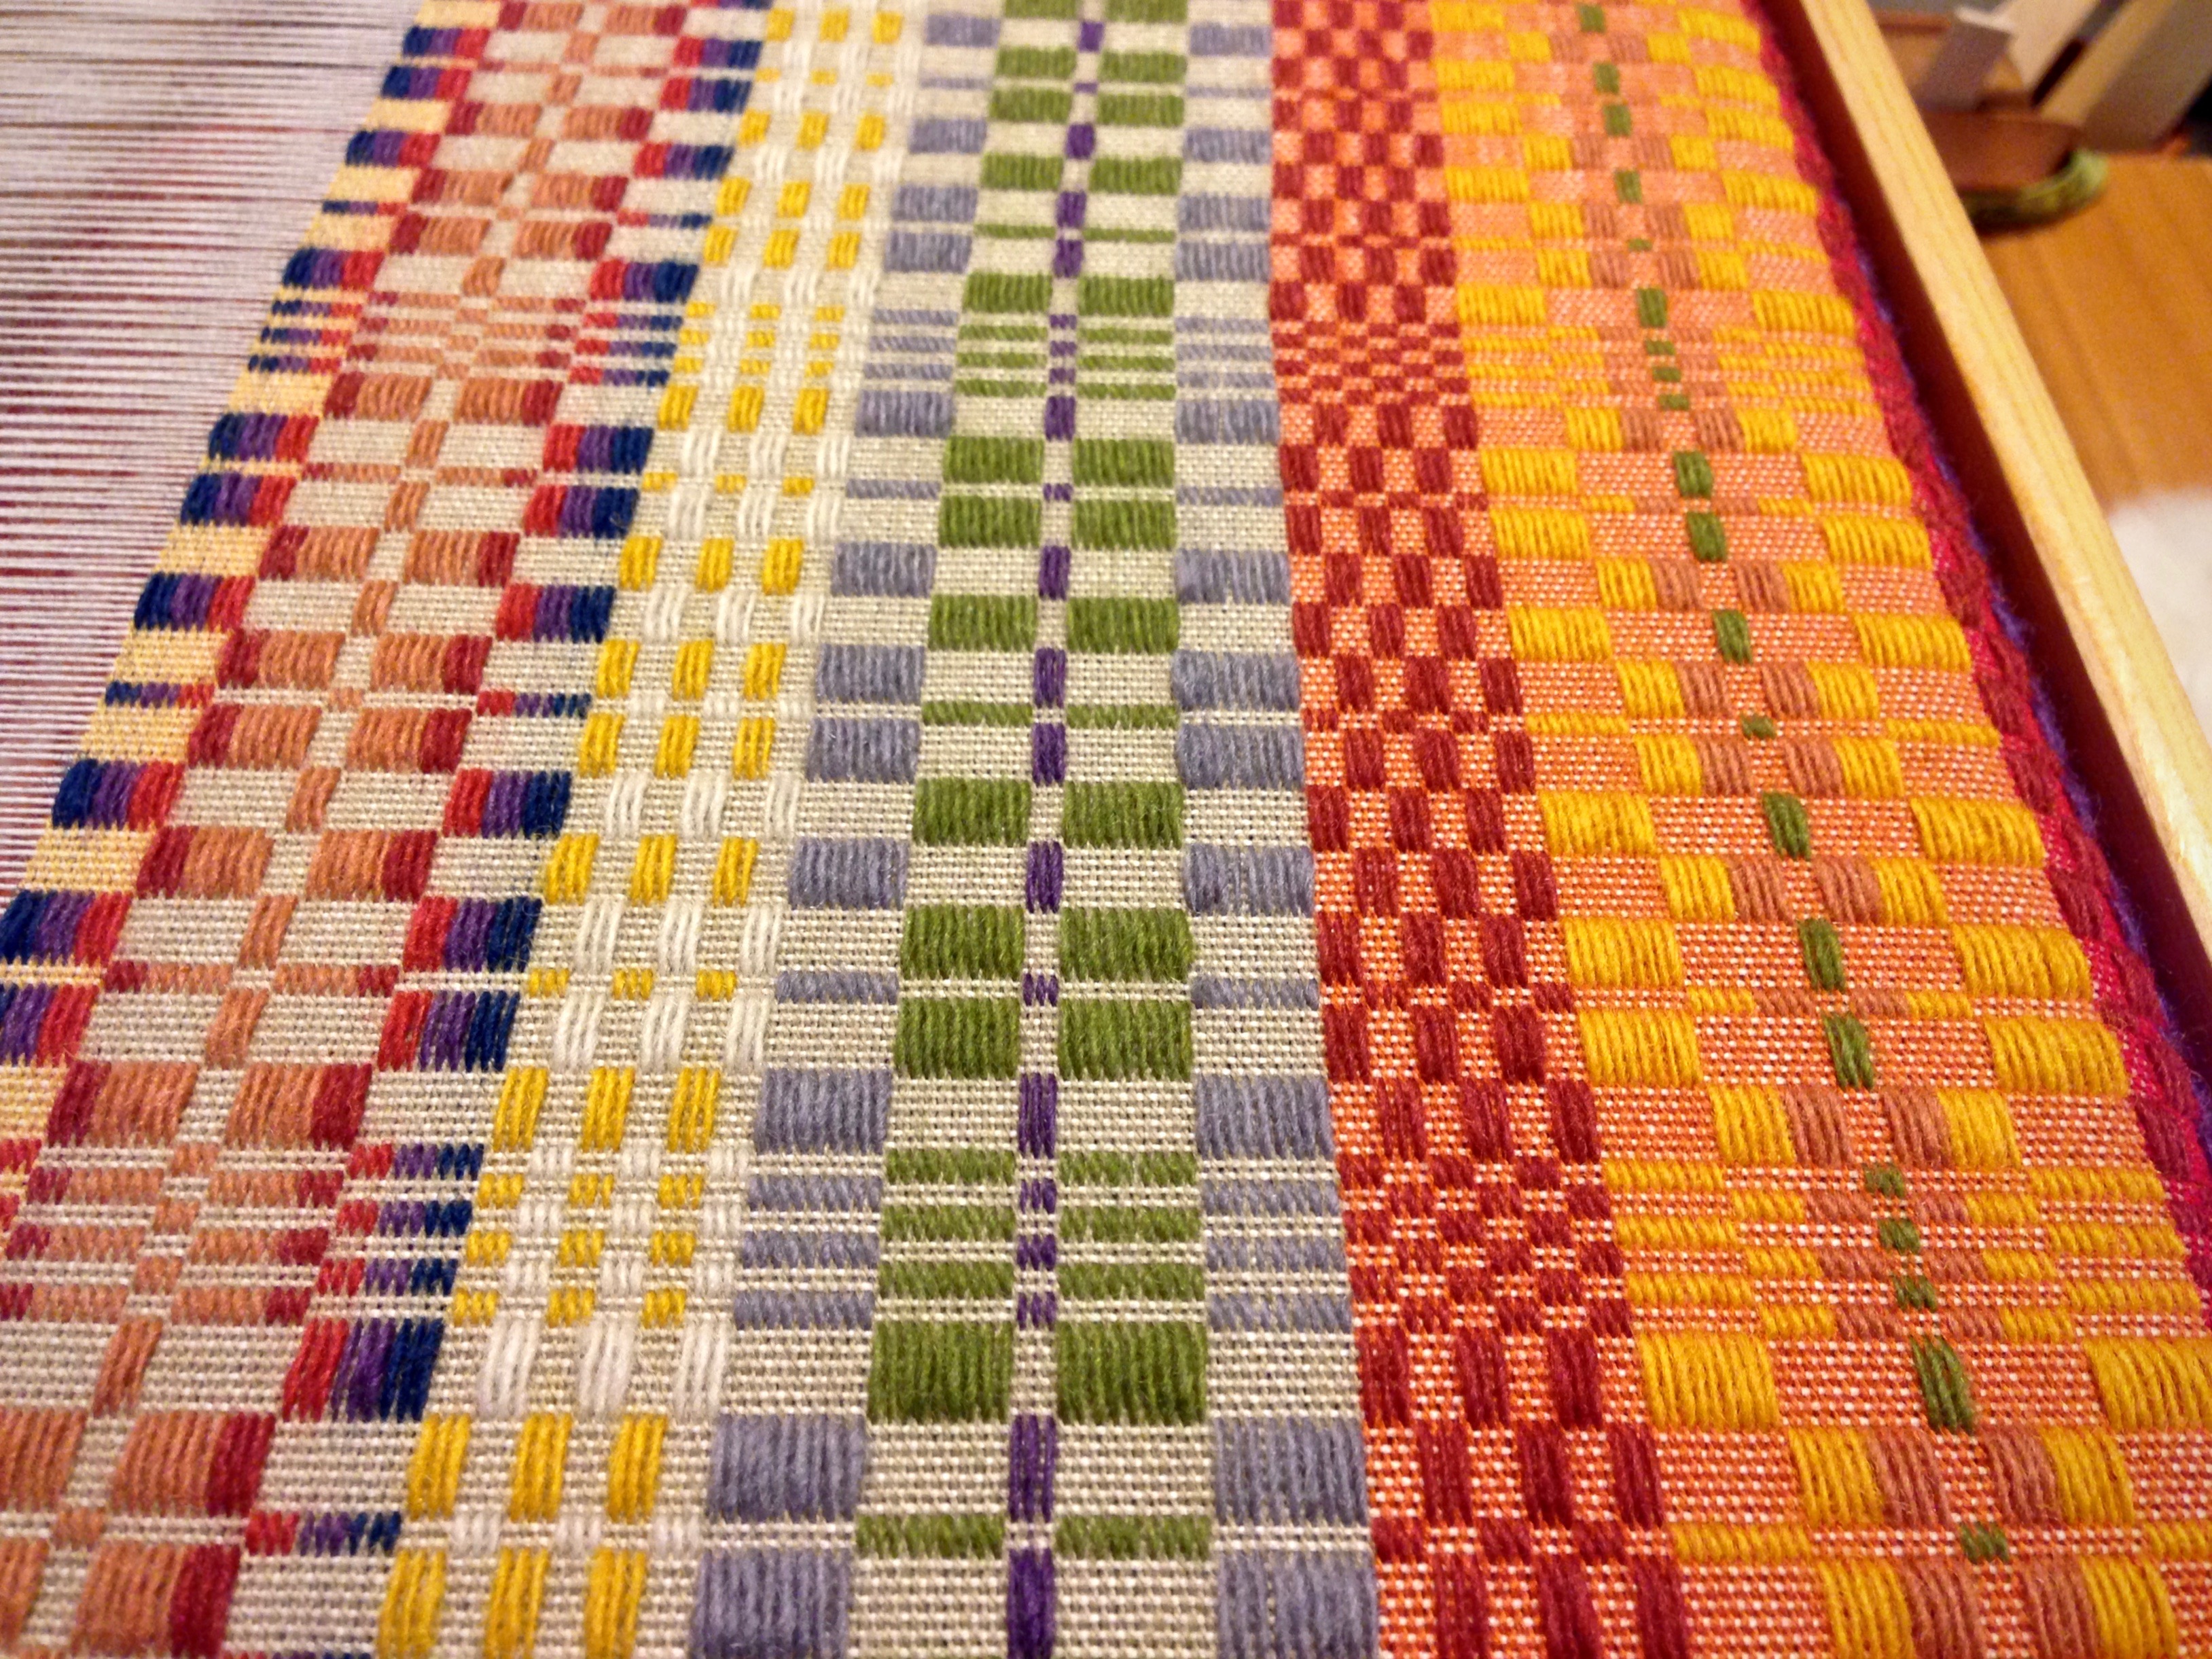
This project was really popular when I posted it on Instagram, so I thought I would share it here also. It is a simple overshot pattern - with a twist. Also a great way to show off some special yarn. The yarn I used for my pattern was a skein of hand spun camel/silk blend. I wove the fabric on my Jack loom but you could also use your four or eight shaft loom.
Overshot is a weave structure where the weft threads jump over several warp threads at once, a supplementary weft creating patterns over a plain weave base. Overshot gained popularity in the turn of the 19th century (although its origins are a few hundred years earlier than that!). Coverlets (bed covers) were woven in Overshot with a cotton (or linen) plain weave base and a wool supplementary weft for the pattern. The plain weave base gave structure and durability and the woollen pattern thread gave warmth and colour/design. Designs were basic geometric designs that were handed down in families and as it was woven on a four shaft loom the Overshot patterns were accessible to many. In theory if you removed all the pattern threads form your Overshot you would have a structurally sound piece of plain weave fabric.
I was first drawn to Overshot many years ago when I saw what looked to me like "fragments" of Overshot in Sharon Aldermans "Mastering Weave Structures".
I wanted to use my handspun - but I only had a 100gms skein, I wanted to maximise the amount of fabric I could get using the 100gms. I thought about all the drafts I could use that would show off the weft and settled on overshot because this showcases the pattern yarn very nicely. I decided to weave it “fragmented” so I could make my handspun yarn go further. I chose a honeysuckle draft.
When doing the treadle tie-up I used 3 and 8 for my plain weave and started weaving from the left, treadle 3 - so you always know which treadle you are up to - shuttle on the left - treadle 3, shuttle on the right treadle 8. I then tied up the pattern on treadles 4,5,6 and 7. You can work in that order by repeating the sequence or you can mix it up and go from 4 to 7 and back to 4 again etc. You will easily see what the pattern is doing.
Overshot: The earliest coverlets were woven using an overshot weave. There is a ground cloth of plain weave linen or cotton with a supplementary pattern weft, usually of dyed wool, added to create a geometric pattern based on simple combinations of blocks. The weaver creates the pattern by raising and lowering the pattern weft with treadles to create vibrant, reversible geometric patterns. Overshot coverlets could be woven domestically by men or women on simple four-shaft looms, and the craft persists to this day.
Summer-and-Winter: This structure is a type of overshot with strict rules about supplementary pattern weft float distances. The weft yarns float over no more than two warp yarns. This creates a denser fabric with a tighter weave. Summer-and-Winter is so named because one side of the coverlet features more wool than the other, thus giving the coverlet a summer side and a winter side. This structure may be an American invention. Its origins are somewhat mysterious, but it seems to have evolved out of a British weaving tradition.
Double Cloth: Usually associated with professional weavers, double cloth is formed from two plain weave fabrics that swap places with one another, interlocking the textile and creating the pattern. Coverlet weavers initially used German, geometric, block-weaving patterns to create decorative coverlets and ingrain carpeting. These coverlets contain twice the yarn and are twice as heavy as other coverlets.
Multi-harness/Star and Diamond: This group of coverlets is characterized not by the structure but by the intricacy of patterning. Usually executed in overshot, Beiderwand, or geometric double cloth, these coverlets were made almost all made in Eastern Pennsylvania by professional weavers on looms with between twelve and twenty-six shafts.
America’s earliest coverlets were woven in New England, usually in overshot patterns and by women working collectively to produce textiles for their own homes and for sale locally. Laurel Thatcher Ulrich’s book, Age of Homespun examines this pre-Revolutionary economy in which women shared labor, raw materials, and textile equipment to supplement family incomes. As the nineteenth century approached and textile mills emerged first in New England, new groups of European immigrant weavers would arrive in New England before moving westward to cheaper available land and spread industrialization to America’s rural interior.
Coverlet weavers were among some of the earliest European settler in the Northwest Territories. After helping to clear the land and establish agriculture, these weavers focused their attentions on establishing mills and weaving operations with local supplies, for local markets. This economic pattern helped introduce the American interior to an industrial economy. It also allowed the weaver to free himself and his family from traditional, less-favorable urban factory life. New land in Ohio and Indiana enticed weavers from the New York and Mid-Atlantic traditions to settle in the Northwest Territories. As a result, coverlets from this region hybridized, blending the fondness for color found in Pennsylvania coverlets with the refinement of design and Scottish influence of the New York coverlets.
Southern coverlets almost always tended to be woven in overshot patterns. Traditional hand-weaving also survived longest in the South. Southern Appalachian women were still weaving overshot coverlets at the turn of the twentieth century. These women and their coverlets helped in inspire a wave of Settlement Schools and mail-order cottage industries throughout the Southern Appalachian region, inspiring and contributing to Colonial Revival design and the Handicraft Revival. Before the Civil War, enslaved labor was often used in the production of Southern coverlets, both to grow and process the raw materials, and to transform those materials into a finished product.
Because so many coverlets have been passed down as family heirlooms, retaining documentation on their maker or users, they provide a visual catalog of America’s path toward and response to industrialization. Coverlet weavers have sometimes been categorized as artisan weavers fighting to keep a traditional craft alive. New research, however, is showing that many of these weavers were on the forefront of industry in rural America. Many coverlet weavers began their American odyssey as immigrants, recruited from European textile factories—along with their families—to help establish industrial mills in America. Families saved their money, bought cheaper land in America’s rural interior and took their mechanical skills and ideas about industrial organization into the American heartland. Once there, these weavers found options. They could operate as weaver-farmers, own a small workshop, partner with a local carding mill, or open their own small, regional factories. They were quick to embrace new weaving technologies, including power looms, and frequently advertised in local newspapers. Coverlet weavers created small pockets of residentiary industry that relied on a steady flow of European-trained immigrants. These small factories remained successful until after the Civil War when the railroads made mass-produced, industrial goods more readily available nationwide.
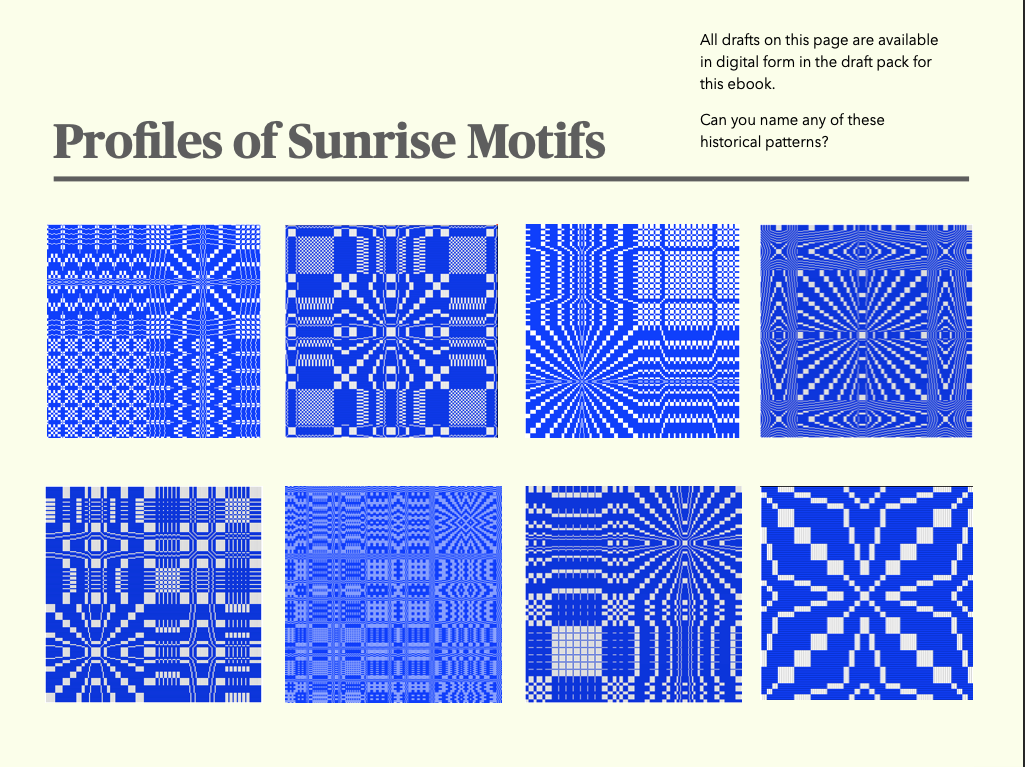
Weave structures often have specific threading and treadling patterns that are unique to that particular weave structure and not shared with others. This book takes you out of the traditional method of weaving overshot patterns by using different treadling techniques. This will include weaving overshot patterns such as Summer/Winter, Italian manner, starburst, crackle, and petit point just to name a few. The basic image is maintained in each example but the design takes on a whole new look!
Each chapter walks you through the setup for each method and includes projects with complete drafts and instructions so it’s easy to start weaving and watch the magic happen! Try the patterns for scarves, table runners, shawls, pillows, and even some upholstered pieces. Once you"ve tried a few projects, you"ll be able to apply what you"ve learned to any piece you desire!
Author of the popular Overshot Simply and Shadow Weave Simply now shares her explorations of overshot weaving structures. Her teaching style is to break down the weave structure into its basic parts so that it is easy to understand, and then teach you how the parts work together to create the weave structure so that you can use any pattern or create your own.

There are lots of reasons why we are excited to be featuring crackle weave this spring! Crackle is an incredibly versatile style of weaving from a design perspective, allowing you to weave anything from intricate diamond patterns to chunky geometric shapes. But even though it can create some pretty fancy designs, crackle makes cloth that has substantial body and stands up to wear and tear. Crackle has us dreaming of beach towels, picnic blankets, decorative throws, and--of course--sewing up some beautiful tops from handwoven cloth.
Well, it has a reputation for being a little… complicated. But while the threading patterns can be pretty complex (often with dozens of ends in a pattern repeat) the wide range of treadling options mean you can set your own challenge level with crackle. Once you’ve tackled the threading, you might want to take on a treadling challenge like weaving the pattern as drawn in, or you might find using simple point twill treadling is more your speed. Either option will produce a beautiful result.
Crackle weave is a bit like a cross between overshot and summer-and-winter. Like both of these styles, crackle uses two wefts: a heavier pattern weft that shows off the design, and a thinner ground weft used to provide stability. And like overshot and summer-and-winter, crackle patterns are written by combining different patterns blocks (set threading repeats with specific rules).
But if everything between my descriptions of pretty fields of diamonds and this part sounded like absolute nonsense, don’t worry! You can still enjoy weaving crackle! While many crackle project call for more complex treadling (treadling in blocks, as drawn in, as summer-and-winter, as overshot, or in pairs) this is not required. All of the fussy stuff goes into designing the threading. If you have a pattern that provides a threading, literally any standard twill treadling will work with any crackle pattern. You can do straight twill, point twill, extended point twill, advancing twill, rosepath, Ms & Ws, or even Wall of Troy treadling, and something beautiful will result! The only tricky part is remembering to add tabby (plain weave) picks with your ground weft in between each pick of your pattern.

This class is not for absolute beginner floor loom weavers. If you are a beginner, please start with my Introduction to Floor Loom Weaving class for all the basics.
A 4 shaft floor loom with 6 treadles. My floor loom has a 35" weaving width, but if your loom is smaller I have provided an alternative class project.
Kelly is a self taught weaver with a big passion for sharing the timeless art of weaving with others. Kelly is known for her calm and slow teaching style and she bases her classes on how she would have liked to have been taught. She designs all of her own projects and caters for levels from beginner to intermediate. Most available classes are for the rigid heddle loom, floor, table and inkle loom weaving.
As weavers it’s not uncommon to come across weaving drafts that are decades or even centuries old. In her article for the November/December 2017 issue of Handwoven, Madelyn van der Hoogt teaches you how to decipher old overshot drafts. Check out the issue to discover more vintage drafts and projects inspired by famous weavers. ~Christina
Overshot is a miracle of design potential on only four shafts. Somewhere, sometime long ago, a weaver looked at 2/2 twill and said: What if I add a tabby weft and repeat each two-thread pair for longer floats? Incredible patterns evolved, shared by colonial weavers with each other on small pieces of precious paper. Luckily, many of these drafts were saved and have become part of our weaving literature. In some of the older sources, the drafting format looks very confusing. Here is a guide to using them.
In the days when paper was hard to come by and writing was done by dipping a quill in ink, drafting formats for weaving were as abbreviated as possible. Overshot patterns are so elaborate that they can’t be communicated by words or short repeats the way simple twills can (point, rosepath, straight, broken, etc.). Complete drafts are necessary. Threading repeats are often long—some with as many as 400 threads. A number of shorthand methods thereby evolved that are similar to our use of profile drafts for other block weaves. But the way overshot works doesn’t allow a strict substitution of threading units for blocks on a profile threading draft.
Overshot drafting formats: Figure 1 is from Davison’s A Handweaver’s Source Book, Figure 2 is from Weaver Rose, and Figure 3 is from Wilson and Kennedy’s Of Coverlets.
Figures 1–3 show the most common early drafting methods. (Compare their length with the thread-by-thread version in Figure 5.) In shorthand drafts, each overshot block contains an even number of threads, four per block in these. (Block labels in red are added to Figures 1, 2, and 3 for clarity.) In Figure 1, from Marguerite Davison’s A Handweaver’s Source Book, the numbers tell how many times to thread each block; the rows tell which block to thread (A = 1-2, B = 3-2, C = 3-4, and D = 1-4). Note how the blocks always start on an odd shaft to preserve the even/odd sequence across the warp. The first column of numbers on the right (2/2) means to thread Block A (shafts 1-2) two times, then thread Block B (shafts 3-2) two times, etc.
In Figure 2, the method used by Weaver Rose, the lines represent the shafts. The numbers represent the order in which to thread the shafts. Reading from the right: Thread shaft 1, 2, 1, 2 for Block A. Then, moving to Block B, thread 3, 2, 3, 2, etc. In Figure 3, from Of Coverlets, the pair of shafts for each block is given with the number of times to thread it. Reading from the right: Thread 1-2, 2x; 3-2, 2x; 3-4, 2x, 1-4, 2x, etc. Figure 4 shows the actual thread-by thread draft for Figures 1–3. It also shows the way this threading would appear in Keep Me Warm One Night. In the drafts in this book, each block is threaded with an even number of threads and circled.
However, in overshot, blocks share shafts. That is, Block A (on shafts 1-2) shares shaft 2 with Block B and shaft 1 with Block D. Block B shares shaft 2 with Block A and shaft 3 with Block C, etc. When, for example, Block B is woven, a pattern-weft float covers the four threads that have been threaded for Block B and the thread on shaft 2 in Block A and the thread on shaft 3 in Block C. The circled blocks in Figure 5 show the warp threads that will actually produce pattern in each block using the drafts in Figures 1–4. Notice that Block B on the right will show a weft float over six threads, but on the left over only four. The same imbalance occurs with Block C; see also the drawdown in Figure 8. In the drafts derived from these shorthand drafts, float lengths over blocks in symmetrical positions always differ from each other by two warp threads.
Unbalanced drafts can be balanced by removing (or adding) pairs of shafts from the circled blocks; see Figures 6–10. In fact, to reduce or enlarge any draft, first circle the blocks so that they overlap to include their shared threads as in Figure 5. Then add or subtract pairs of threads. Notice that Block D has an odd number of threads, which is true of all “turning” blocks. Turning blocks are blocks where threading direction changes (any shift from the ABCD direction to the DCBA direction or vice versa).
The overshot drafts in Marguerite Davison’s A Handweaver’s Pattern Book and in Mary Meigs Atwater’s The Shuttle-Craft Book of American Hand-Weaving have all been balanced; see their drafting formats in Figures 11 and 12.

As a young child visiting my great aunt in the nursing home, I would love to sneak to the lower floor and watch as residents wove blankets on large floor looms. I dreamt of weaving my own blanket. When I married and moved to Charlottesville, Virginia, over 30 years ago, I walked by a shop selling Schacht looms and offering classes. I went home with a table loom that day—a far cry from those big looms in the nursing home, but just as exciting. Money was tight, so I got an old spinning wheel and ordered raw fleeces to make my own yarn. When we moved to a small colony farm in Palmer, Alaska, in 1989, I knew right away I would get the perfect sheep to grow the best wool for my projects. Many more looms and sheep followed. Superfine merino sheep originally from Morehouse Farm in New York entered the picture in 1990 and our flock continued to grow and produce amazing wool. I was unable to keep up with the spinning and started sending our wool to Blackberry Ridge Woolen Mill, who do a great job spinning yarn. I use this yarn to make woolen goods for purchase, including blankets, shawls, scarves, and felted yardage.
When the original creamery of the farm became available, we thought it was a great opportunity to open a small weaving shop. Among the offerings are pre-warped merino wool projects, group scarf classes for those with little to no experience, private beginning warping classes, workshops, and studio time. Supplies are also available: yarn, finished products, looms, and all the other tools and equipment needed for weaving. We teach our group classes on Wolf Pup, Baby Wolf, and Mighty Wolf looms. It is convenient that we can move the looms as needed.
I have always dreamed of weaving a coverlet with my merino wool. I have a copy of Of Coverlets and have envisaged weaving every last one of them. I had eyed the Cranbrook for years and schemed a plan of how to acquire just one more loom. The shop had a great space that called its name. I wanted to weave on this beautiful loom, as well as have it available for others who share the same dream.
One thing I did not realize when I bought the Cranbrook was that the treadles can lock into place to keep the shed open. This is especially helpful when weaving a wide project, as you don’t need to keep your foot on the treadle when you “catch” the shuttle at the other side. (If I had known this, I would have bought the 72″). I tied my tabby threads to treadles 3 and 4, skipped two treadles, and tied my pattern threads to treadles 7, 8, 9, and 10. It was easy to get in a great rhythm and “dance” through the pattern. Good music kept up my beat. The weighted hanging beater option made it relaxing and gave me a dense consistent beat with minimal effort.
I chose Lee’s Surrender as my first project because it is the pattern shown on the “Of Coverlets” introductory page and I found it to be such an inspiration. I continue to dream of bringing the whole book to life through weaving the patterns one by one—even if I have to finish in the nursing home.
Thread following Lee’s Surrender draft in A Handweaver’s Pattern Book, page 184. Repeat center block 30 times. Tie up according to draft. Note: the drafts in this book are written for a sinking shed loom. For a rising shed loom, tie up the blank boxes, not the boxes marked with X.
For the second row of knots, divide each of these groups into two groups of 10. Skip the first group of 10. Combine the second and third groups of 10, tying them together in an overhand knot. Repeat across the weaving until you come to the last group of 10, which is left untied on this row.
For the final row of knots, divide each group of 20 into two groups of 10. Combine the first group of 10 (skipped on the previous row) and the second group of 10, tying them together in an overhand knot. Repeat with the third and fourth groups of 10, working across the weaving. There are no groups of 10 untied on this row.
Here I am with the first of an ongoing series of equipment reviews. If you’re into sport technology / wearable technology, you’ve probably heard of DC Rainmaker. His product reviews are invaluable. Although I don’t claim to be anywhere near his level, I thought it would be a good idea to do something similar for the weaving equipment world. Weaving equipment is expensive. There’s no getting around that. It can also take up a considerable amount of space. The purchase of a new loom is rarely an impulse purchase. Looms are also specialized for certain types of weaving. I’ll never forget the panic one day of welcoming my students to a tapestry weaving class only to discover that one of my students had been told (I’ll never know by whom) that a tapestry loom capable of using four sets of string heddles was the same as a 4-shaft floor loom.
Following is a list of supplies that I think you should order or have on hand when you order the Katie. This is not meant to be a list of weaving supplies you will need, such as boat shuttles and a warping board. This is a list of supplies I think you’ll need to set up the Katie itself.
Overall, the Katie is a great little loom. However, it is meant for small projects. It has only a 12″ weaving width, which results in fabric that is roughly 10.75″ finished width. I wouldn’t call it extremely lightly built, but it’s not the loom to weave rugs on. It shines as a sampling loom and a workshop / travel loom. Weighing in at only 14 pounds / 6.5kg and fitting in its own bag, it’s a beauty to take on a road trip or to a guild meeting or workshop.
I am not a fan of table looms. I’ll state my prejudice right here. Mostly, I don’t like them because of how far I have to reach to raise and lower the shafts. It winds up being more of an upper body workout than I like. The Katie has won me over. One of the easiest things about weaving on it is how easy it is to flip the levers to manipulate the shafts. Using levers to manipulate the shafts (or a direct tie-up floor loom) is slower than a loom with lams and treadles. This is a cost of using a table loom. A huge advantage, and one that I stress to my students, is that you gain an understanding of the warp thread movement that produces the cloth.
One of the things I like best about the Katie is the overhead beater. One of the weaknesses of table looms is the swing of the beater. Because the beater is so short, it has a steep arc. There is very little weaving area before the beater arcs so badly that it’s pushing down on the fabric rather than packing the weft. Ashford addresses this problem in the Katie and its other table looms by using an overhead beater. The height of the beater can be greater, allowing for a shallower arc to the swing. You still have to advance early and often with the Katie, but it’s much more reasonable.


 8613371530291