
overshot weaving technique supplier

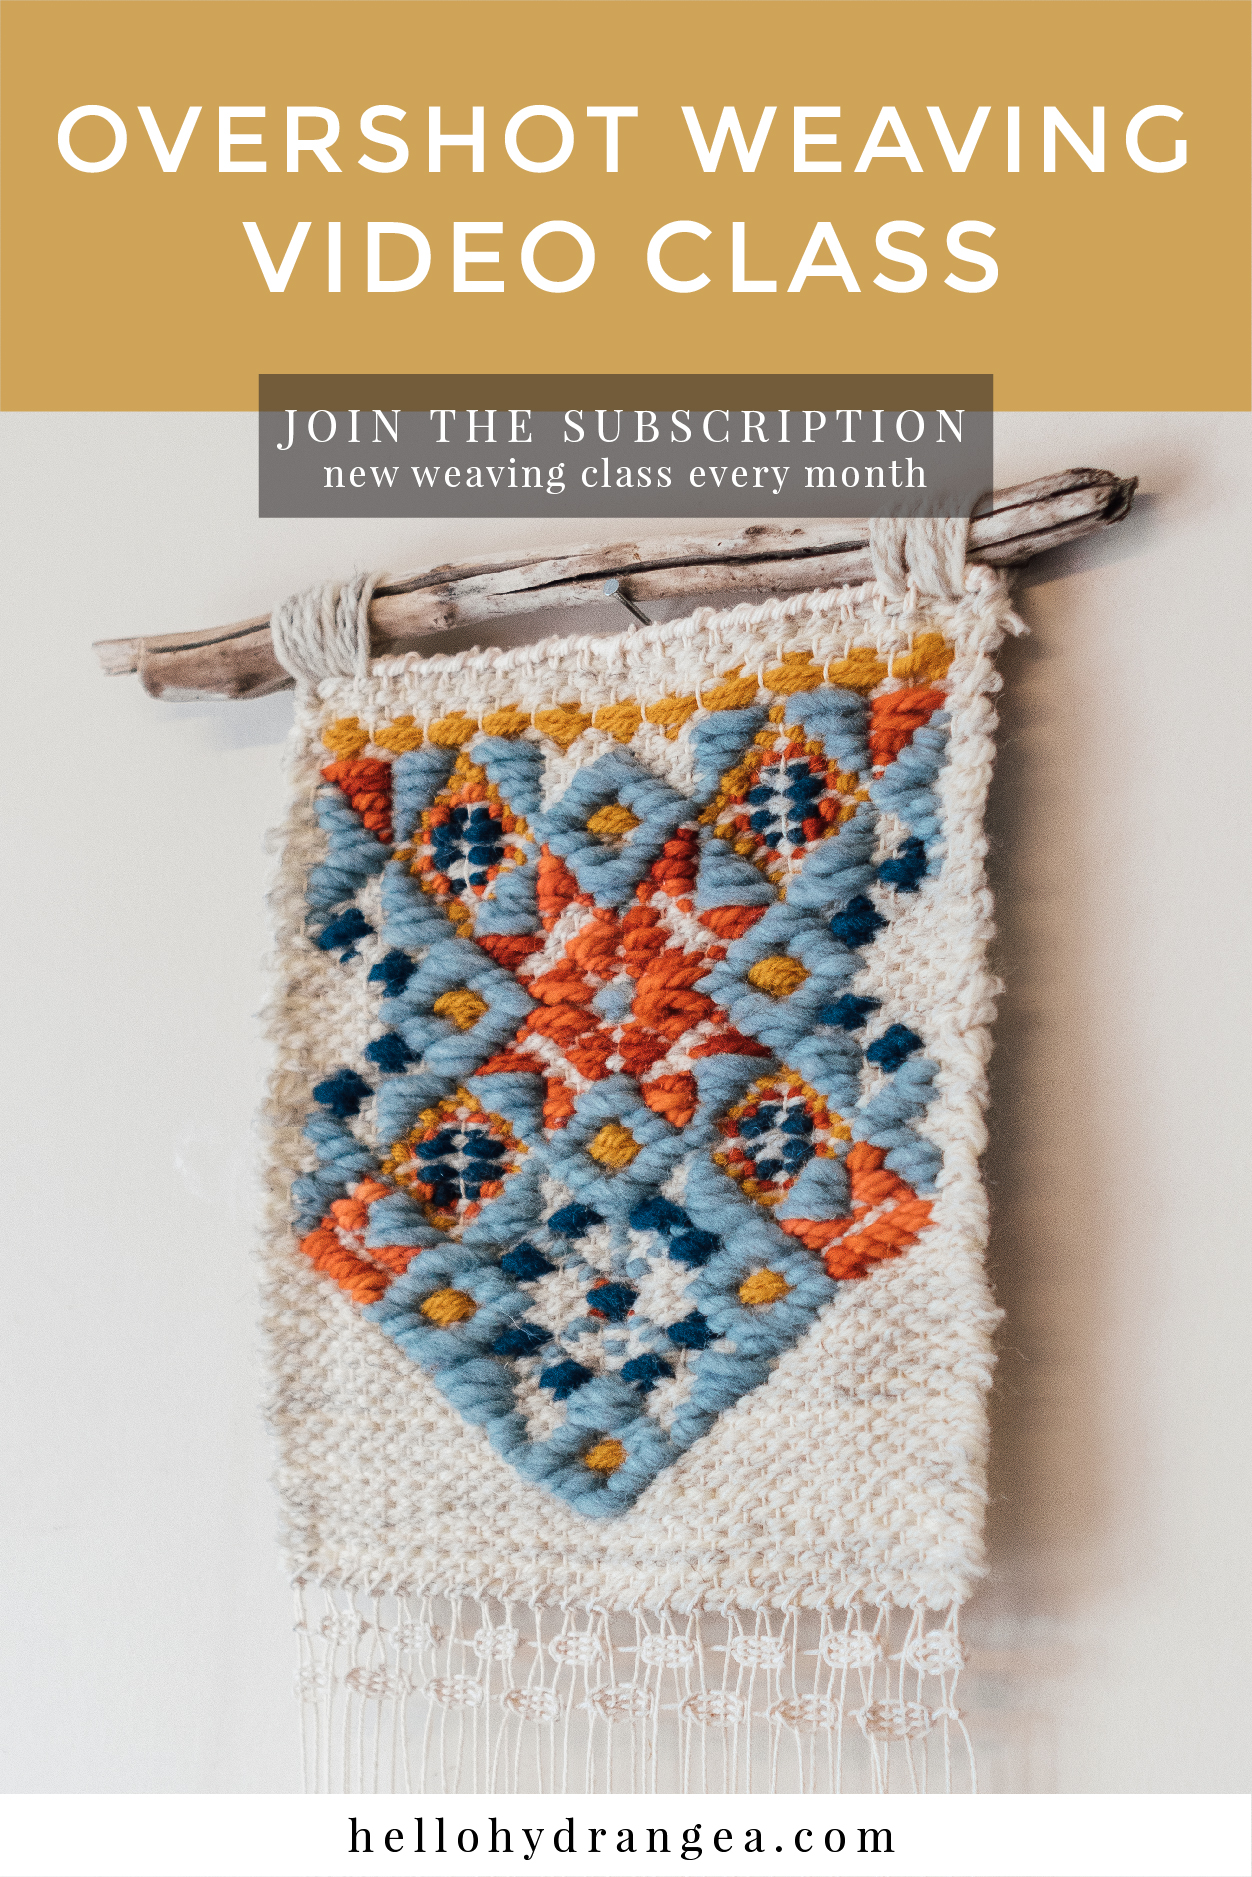
Crazyshot - creative overshot weaving - introduces anyone who uses a rigid heddle loom to a whole world of creative weaving. Using just one heddle and one pick-up stick, you’ll explore color, design, and texture, taking your weaving to the next level.
Complete step-by-step instructions are included for weaving all 14 of the designs in this book. Also provided are how-tos for the single heddle overshot technique, reading charts for the rigid heddle loom, and finishing techniques, along with lots of tips and tricks for successful and
Complex patterning is easier than it looks with this simple charted technique. All you need are basic rigid heddle warping and weaving skills to start your next weaving adventure!
This post is the third in a series introducing you to common weaving structures. We’ve already looked at plain weave and twill, and this time we’re going to dive into the magic of overshot weaves—a structure that’s very fun to make and creates exciting graphic patterns.
Overshot is a term commonly used to refer to a twill-based type of weaving structure. Perhaps more correctly termed "floatwork" (more on that later), these textiles have a distinctive construction made up of both a plain weave and pattern layer. Requiring two shuttles and at least four shafts, overshot textiles are built using two passes: one weaves a tabby layer and the other weaves a pattern layer, which overshoots or floats, above.
Readers in the United States and Canada may be familiar with overshot textiles through woven coverlets made by early Scottish and English settlers. Using this relatively simple technique, a local professional weaver with a four-shaft loom could easily make a near-infinite variety of equally beautiful and complex patterns. If you’d like to learn more about overshot coverlets and some of the traditions that settlers brought with them, please see my reading list at the bottom of this article!
As it is twill-based, overshot will be very familiar to 4 shaft weavers. It’s made up of a sequence of 2-thread repeats: 1-2, 2-3, 3-4, and 1-4. These sequences can be repeated any number of times to elongate and create lines, curves, and shapes. These 2-thread repeats are often referred to as blocks or threading repeats, IE: 1-2 = block 1/A, 2-3 = block 2/B.
There are three ways weft appears on the face of an overshot cloth: as a solid, half-tone, or blank. In the draft image I’ve shared here, you can see an example of each—the solid is in circled in blue, the half-tone in red, and the blank yellow. Pressing down the first treadle (shafts 1 and 2), for example, creates solid tones everywhere there are threads on shafts 1 and 2, half-tones where there is a 1 or 2 paired with 3 or 4, and nothing on the opposite block, shafts 3 and 4. Of course, there’s not really nothing—the thread is simply traveling on the back of the cloth, creating a reverse of what’s on the face.
Because overshot sequences are always made up of alternating shafts, plain weave can be woven by tying two treadles to lift or lower shafts 1-3 and 2-4. When I weave two-shuttle weaves like overshot, I generally put my tabby treadles to the right and treadle my pattern picks with my left foot and my tabby with my right. In the draft image I’ve shared above, I’ve omitted the tabby picks to make the overarching pattern clearer and easier to read. Below is a draft image that includes the tabby picks to show the structure of the fabric.
Traditional overshot coverlets used cotton or linen for warp and plain weave wefts, and wool pattern wefts—but there’s no rule saying you have to stick to that! In the two overshot patterns I’ve written for Gist, I used both Mallo and Beam as my pattern wefts.
In the Tidal Towels, a very simple overshot threading creates an undulating wave motif across the project. It’s easy and repetitive to thread, and since the overshot section is relatively short, it’s an easy way to get a feel for the technique.
The Bloom Table Squares are designed to introduce you to a slightly more complex threading—but in a short, easy-to-read motif. When I was a new weaver, one of the most challenging things was reading and keeping track of overshot threading and treadling—but I’ve tried to make it easy to practice through this narrow and quick project.
Overshot works best with a pattern weft that 2-4 times larger than your plain weave ground, but I haven’t always followed that rule, and I encourage you to sample and test your own wefts to see how they look! In the samples I wove for this article, I used 8/2 Un-Mercerized Cotton weaving yarn in Beige for my plain weave, and Duet in Rust, Mallo in Brick, and Beam in Blush for my pattern wefts.
The Bloom Table Squares are an excellent example of what weavers usually mean when they talk about traditional overshot or colonial overshot, but I prefer to use the term "floatwork" when talking about overshot. I learned this from the fantastic weaver and textile historian Deborah Livingston-Lowe of Upper Canada Weaving. Having researched the technique thoroughly for her MA thesis, Deborah found that the term "overshot" originated sometime in the 1930s and that historical records variably called these weaves "single coverlets’ or ‘shotover designs.’ Deborah settled on the term "floatwork" to speak about these textiles since it provides a more accurate description of what’s happening in the cloth, and it’s one that I’ve since adopted.
This book contains the collected drafts and work of Frances L. Goodrich, whose interest in coverlets was sparked when a neighbor gifted her one in the 1890s. Full of charming hand-painted drafts, this book offers a glimpse into North Carolina’s weaving traditions.
Amanda Ratajis an artist and weaver living and working in Hamilton, Ontario. She studied at the Ontario College of Art and Design University and has developed her contemporary craft practice through research-based projects, artist residencies, professional exhibitions, and lectures. Subscribe to herstudio newsletteror follow her onInstagramto learn about new weaving patterns, exhibitions, projects, and more.

Classes are emailed to you as a downloadable pdf ebook. Just save the pdf to your computer, device or cloud storage - you have access to it forever! You can work at your own pace. Inside the ebook are links to videos. Use whatever materials you have on hand to practice the techniques.
Patterns, videos, written instructions, photos, and pdf designs are copyright. If you purchased a class and created the project, you are more than welcome to sell the piece if you wish. You made it, so be proud! However, please do not purchase my classes and share/sell the techniques or patterns via YouTube, Instagram Stories/Posts, Workshops, etc. I only ask that while you are showing off your amazing new skills, you send anyone who is interested in learning my way, instead. Thanks!

There were ten of us in the class, and we rotated, weaving a new sample at each loom. Marjie shared her knowledge of the patterns we sampled, and I came away with an even greater interest in this subject in addition to a binder filled with samples. There really is no greater way to learn than a hands-on workshop. I am already preparing to wind a warp for a dimity project. I’ll keep you posted on my progress.
One interesting piece of information I learned is that overshot is a fairly modern term. Originally this type of weaving would have been referred to as floats or floatwork. It seems that many people are returning to this original terminology, though the weaving world has thus far shown little interest in making the change back. Personally, I like it. Floatwork sounds a bit less frenetic than overshot – as though I’m peacefully hitting my mark rather than missing it in a wild fashion.
When I first considered writing this article, I wasn’t confident enough with my weaving vocabulary to write something that a true beginner might actually understand. The information out there assumed, and still assumes, a certain level of weaving knowledge. I learn best by seeing something demonstrated, not by trying to translate written instructions. So how does one write an article for people like me? Let’s start with some basic terminology.
Floatwork, formerly known as overshot which was originally known as floatwork, is a block design traditionally woven on four shafts where a heavier pattern yarn floats above a plain weave ground cloth and creates a raised pattern. Your plain weave background cloth is woven using a finer yarn in your warp and in every other weft pick (these weft picks being the ‘use tabby’ part of your pattern.)
This finer yarn is hidden in places by the thicker yarn floats, blended in places with the thicker yarn (as plain weave) creating areas that are shaded (referred to as halftone), and woven across itself to create delicate areas of plain weave. Most of us think of antique coverlets when we hear ‘overshot.’
For some reason the term tabby has always annoyed me. It made me think of cats (I’ve got two – one of whom decided to take my seat when I got up to get a quick snack – and I love them both dearly) not weaving until I looked up the origin of the word on etymonline.com.
Back to business. Tabby is a plain weave pick that anchors your pattern pick in place. When weaving floatwork, every other weft pick is tabby. Your pattern pick needs the tabby pick to stabilize the cloth and keep the pattern picks from becoming distorted. This also means that you are working with two shuttles, one holding your tabby yarn and one holding your pattern yarn. This two-shuttle thing can be a bit awward at first, but you’ll get the hang of it with a little practice.
Here is the thing about floatwork that really helped it to make sense for me. It is basically a twill weave. As Mary Black puts it, “An examination of an overshot draft shows it to be made up of a repetitive sequence of the 1 and 2, 2 and 3, 3 and 4, and 4 and 1 twill blocks”.
Let’s look at the pattern picks only. When weaving, your pattern blocks should overlap by one thread. This creates a pattern that flows from unit to unit instead of making a sharp step. It also means that the last thread of a given block is the first thread of the next block, and as you are initially threading your loom, your threads will move from odd shaft to even shaft.
You can find it listed in the chapter or sub-chapter entitled ‘Notes on the Overshot Drafts.’ As someone who generally cheers on the underdog, I was drawn to this pattern without a name.
Here is a list of books and magazines that might be of interest if you’d like to learn more about floatwork/overshot. Many of these references include patterns in addition to thorough instructions.
Atwater, Mary Meigs. The Shuttle-Craft Book of American Handweaving. New York: The Macmillan Company, 1928. Just scored a first edition on ebay for $9! I now have three copies and am seriously in love with this book (taken with a grain of salt as she is rather traditional.)
If you can find this issue anywhere, I’d recommend picking it up. It’s full of great information on historic weaving, but also has a super article on understanding and writing drafts by Debbie Redding (aka Deborah Chandler).

As I began to plan the structure of the piece I knew that using an overshot technique for my weaving would probably give me the visual texture that I desired.
The overshot technique in weaving is accomplished by using two different thickness ofthread alternated in the weaving rows. The pattern row is made using the thicker of the two threads and usually skips over several threads to achieve the desired pattern that you are weaving. The thinner of the two threads is woven across the warp before and after each thicker pattern thread to “lock in” the pattern thread. The thinner threads are woven in tabby (weaving speak for plain weave).
I feel that using the overshot weaving technique helped me to capture the textual feeling I wanted for this runner. Here is how the project progressed and a list of the yarns that were used.
With the color pallet and types of yarn I chose and using the overshot technique, I felt like I was able to achieve the look that I wanted for this project. What do you think??
Half way through my weaving I decided I wanted to add a little something special to the piece that would bring the cultural influence in the tribal shield that inspired me to create this project to begin with. As I searched for that special something, I found a vendor on Etsy that imported fair trade beads from Africa. Handmade metal and hand-carved bone beads. I was pretty excited! Special handmade beads from another artist to compliment a handmade runner, just what the runner needed forthat finishing touch. When the beads arrived I laid them out on the runner that I was almost finished weaving and knew it was definitely the perfect accent!
Adding the beads to the finished runner was a long and tedious task but definitely worth the work, time and effort when I saw the finished project!! Once the beading was finished all that was left was to do the finishing wash and block drying and trimming off any overlapped threads in the weaving.
I actually had some beautiful brass and bone beads leftover from my weaving projects so I made those into some fun jewelry pieces . I’ll have some pictures of those in my next blog post.
The term overshot recalls coverlets woven on Early American barn frame looms dating back to the 1700’s. It is believed Europeans brought the weave structure to North America and fortunately weaving materials such as wool and cotton were readily available.
Susan invites you to spend two insightful days exploring one of her favorite weave structures. Her workshop creates multiple overshot samples serving as a ‘snapshot’ of overshot treadling sequences. Her goal is for each participant to enjoy learning the process of weaving “per block order” and understanding the benefits of doing so. This teaching method provides the groundwork for wider (on the loom) weaving projects once concepts are mastered.
Utilizing apre-wound8/2 cotton warp and tabby weft along with Borgs Fårö 6/1 for pattern weft, looms will be dressed prior to the workshop with an 8 1/2″ wide warp. Overshot treadlings such as Star and Rose will be explored in addition to Echo, On-Opposites, Petit Point, Lace Weave, Spetsväv, and Honeycomb.
As a bonus, at the end of the workshop, students will receive a 4-Shaft Overshot Pillows Draft which could include up to ten pillow tops. Sampling first, as we will do in the workshop, will enable you to enjoy your new-found knowledge for such a project.
4-Shaft Floor or table loom with 10-dent Imperial or 45/10 Metric reed; a minimum weaving width of 10”, in good working orderWooden Temple for 8-1/2” weaving width (a binder-clip temple is acceptable but not recommended.)

Many years ago, I finally got to try weaving. I took the Beginning to Weave workshop through the Ottawa guild. At that time, 1989, the OVWSG did not have a studio space to house what guild equipment we had acquired. (The Guild had an old second-hand 100 inch loom and 6 or 7 table looms. There may have been a floor loom too but I was distracted by the 100 inches of loom, so do not remember). All the looms lived in one of our guild members’ very big basements. On weekends, she either taught weaving workshops or hosted weavers working on the 100 inch loom. It sounded like a busy basement! I remember 4 weekends of driving to a little town just east of Ottawa. I took the table loom home each week to do homework. I still remember the sound of the mettle heddles rattling as I drove down the highway, back and forth to the classes. Then I think there were two more weekends of Intermediate weaving and Dona sent me off and I was weaving!
It all starts with yarn, wind it carefully, attach it to the back beam, wind on, thread the heddles, slay the reed, tie on to the front beam, check the tension and then start to weave. It sounds like a lot of work but it is all worth it as you start to pass the shuttle through the shed and the cloth begins to appear. Weaving was like Magic! From a pile of string to POOF, actual cloth!!!
During the workshop, I found pickup seemed strangely familiar as my brain watched my fingers happily lifting and twisting threads for the various lace and decorative weave patterns. The other thing that my brain went “ooh this is cool!” was Overshot. It is a weave structure that requires a ground and a pattern thread, (two shuttles). One is fine like the warp and the pattern thread is thicker and usually wool. I was still reacting to wool so I used cotton for both. My original goal was to draft and weave a Viking textile for myself but I put that aside for a moment, I will get back to that later.
The first thing I wove after my instruction was a present for my Mom. she had requested fabric to make a vest. I looked through A Handweaver’s Pattern Bookby Marguerite Porter Davison and found an overshot pattern that I thought we both would like. I wove it in two shades of blue (Mom’s favourite colour), at a looser thread count than usual. (Originally the overshot weave structure was used to make coverlets, so were tightly woven and a bit stiff, while I liked the pattern I wanted the fabric to be much more drapey.) Even worse, I did not want it to be as hard-edged in the pattern as it was originally intended so I tried a slub cotton as a test and loved it.
In the Exhibition The Inkle band, hanging beside the overshot, I wove much more recently. I used an Inkle loom and a supplemental warp thread. This means weaving with an extra separate thread that was not part of the main warp on the loom. I used a yarn with a fuzzy caterpillar-like slub.
You may be able to see how I wove the weird slubby supplemental warp. The yarn is weighted and left hanging over the back peg of the Inkle loom. It comes over the top peg (usually labelled B in diagrams) and floats above the weaving. In the areas where the Caterpillar (Slub) is not present I catch the yarn with the shuttle and weave it into the band. In the area the caterpillar appears I would leave the yarn above the warp and then start weaving it in again as I reached the end of the caterpillar. I hope that explanation doesn’t sound like mud and makes a bit of sense. Using a supplemental warp on an Inkle loom is not quite normal but it is a lot of fun.
Over the years I tried out other two harness techniques that you normally don’t see with an Inkle loom. It turned into an entire 2 day, with a week in between days, workshop (with a homework assignment) and lots of samples!! I think it’s the fault of my dyslexic brain wandering off into odd thoughts again.
I was going to tell you about my original goal in learning to weave, the mysterious Fragment #10 from a Viking excavation from around the year 1000, but I have likely confused you with weaving enough for one day. So I will save that for another chat. (don’t forget the Inkle loom I would like to tell you a bit more about that in another post too. I promise I will get back to felting in the not-too-distant future)

If you are lucky enough to have a local shop nearby that supports weaving, please support them. They can give you personal handholding when you need it, and they offer you the invaluable service of allowing you to get hands-on experience when picking your yarn, fiber, and equipment. Consider your loom, book, and other materials support of this service.
This page includes affiliate links from Amazon. I encourage you to support your local retailer, although I fully recognize not everyone is lucky enough to have a local book or weaving store nearby. The small income from these links help fund this site.

Crazyshot - creative overshot weaving - introduces anyone who uses a rigid heddle loom to a whole world of creative weaving. Using just one heddle and one pick-up stick, you"ll explore color, design, and texture, taking your weaving to the next level. Complete step-by-step instructions are included for weaving all 14 designs in this book. Also provided are how-tos for the single heddle overshot technique, reading charts for the rigid heddle loom, and finishing techniques, along with lots of tips and tricks for successful and satisfying results. Complex patterning is easier than it looks with this simple charted technique. All you need are basic rigid heddle warping and weaving skills to start your next weaving adventure!
With one heddle and one stick, Myra Wood explores the art of working with ground and pattern wefts in this creative approach to rigid-heddle weaving. Known for her for colorwork across many mediums, Myra beautifully illustrates that complex does not have to be complicated. --Liz Gipson, Author of A Weaver"s Guide to Yarn and other books for rigid-heddle weaving and the host of the Yarnworker School

If you"ve always wanted to learn to weave, but didn"t know where to begin, this is the video for you. This course is designed to acquaint you with the basics and help you choose a direction in which to begin. It starts with an overview of what handweaving is, what can be woven, plus a look at several types of looms and how they work. You will become acquainted with a number of small tools used by weavers, as well as the vocabulary of weaving terms needed to understand the process. You"ll learn about warp and weft yarns, and how their size, weight, elasticity and fibre content relates to specific projects and fabrics. The detailed exercise in figuring out how much warp and weft is needed for a project will become a valuable resource as you continue with future weaving projects. You will also learn how to prepare (measure) the warp using a warping board. This course is recommended as a prerequisite to other video weaving courses for those who are new to weaving. An exciting new hobby awaits you!


 8613371530291